Jan 26, 2018

Did you know that you can engrave a short message on the inside of your wedding band? (Provided that the band is not too thin…)

Here’s a look at how it’s done. The machine takes different font plates, the two most popular being block and script.


The ring, in this case a men’s wedding band, is secured in the engraving machine. A script font has been chosen for this one. The message is etched, letter by letter and number by number, by following the template on the font plate.

The men’s wedding band has been securely placed in the holder, ready to be engraved.

Tracing the letters and numbers one by one.


Close-up shot of the script font plate.


Once the engraving is done, the inside of the ring is polished to remove any shards of metal and to clean up the engraving.


The finished product!


Jun 14, 2017

Clients of ours got married this past weekend and were kind enough to share some of their wedding photos! Check out the bride’s custom French Pavé weddings rings, made by us, and beautifully captured by photographer Victoria Selman.


Mar 29, 2017

When shopping for a diamond, there are several important factors to keep in mind… is it GIA certified? What’s the cut grade… is the diamond cut too deep? The color/clarity? All these things are important, but just glancing at the certificate online is not enough.

For example, two diamonds with the same clarity grade can look vastly different. An SI2 grade can mean subtle white inclusions, but it can also mean black carbon flecks that are visible to the naked eye.


An SI2 diamond with visible carbon inclusions, clear to the naked eye.


An SI2 with white inclusions that are visible, but off to the side and not quite as noticeable.


Differences in depth are also very important. You could be comparing two diamonds that both weigh a carat, but one looks smaller than the other. Why is that? It has to do with the cut of the diamond. When a diamond is cut too deep, the weight is in the belly of the stone. As a result, the diameter is smaller and the diamond will look smaller than it should.

Two 1-carat diamonds. The one on the left, cut deeper, is visibly smaller-looking than the one on the right.


Part of the weight of the diamond on the left is hidden in its thick, bruted girdle.


These differences in cut and inclusion type are also reflected in the price. An SI2 diamond with white inclusions off to the side can fetch $1000-1500 more than an SI2 with black flecks in the center. Same goes for a diamond that weighs a carat but looks like a 0.75 carat. Buying a diamond is not like buying a car, where two cars of the same year, make, model, color and package will be exactly the same. Every diamond is unique and even if two diamonds have the same characteristics on paper, there are nuances and characteristics that will be different and need to be seen in person!

Feb 3, 2017

Having a ring sized is something most people do at least once in their lifetime. Losing or gaining weight, pregnancy, arthritis, finger or knuckle injuries are all factors that can cause one’s finger size to change. Ever wondered how ring sizings are done? Keep on reading…

First things first, it’s important to know that not all rings can be sized. Eternity bands with diamonds set all the way around cannot be resized, nor can tungsten or titanium or other alternative metals that are too hard to cut and size. There is also a limit to how much a ring can be sized– let’s say you inherit a family ring that is a size 7, but your finger is a size 4. It may not be possible to bring a ring so far down in size. There is no universal price for a ring sizing, so we evaluate every ring sizing job case by case. No two jobs are the same and some are more complicated than others.

For a basic sizing job, though, of course we begin by determining how much it needs to be sized. This ring was a stock size 6 and needed to be taken down half a size.

You can see that the ring measures 6 on our sizing mandrel.


Step one: measure how much needs to be cut from the bottom of the ring. This sizing disc is in a 1/2 size and allows the jeweler to cut precisely the right amount of metal from the ring.


The half size has been cut out from the bottom of the ring, and now the two ends must be joined back together.


The ring is held in pliers and has a solder strip over the cut, which will be used to join it back together.


The solder strip has been heated with a torch and the bottom of the ring is joined back together. The white substance is borax, which protects the metal from getting burnt.


The ring is placed in an acid bath to remove tarnish and markings from the heat of the torch.


The ring is hammered in order to round out the bottom and restore the shape it had before.


The inside and outside of the ring are sanded to ensure a smooth finish.


After having been sanded and smoothed, the ring is ready. It just needs a final wipe and maybe some polishing.

…and that’s it! The ring has been taken a half size down and is now a 5½.


Jan 22, 2017

There are several methods we use when making a ring. We’ve discussed handmade rings as well using computer-aided design (CAD) in previous blog posts. Another method we frequently use is casting a ring from a mold. This method is useful when replicating an existing piece of jewelry.

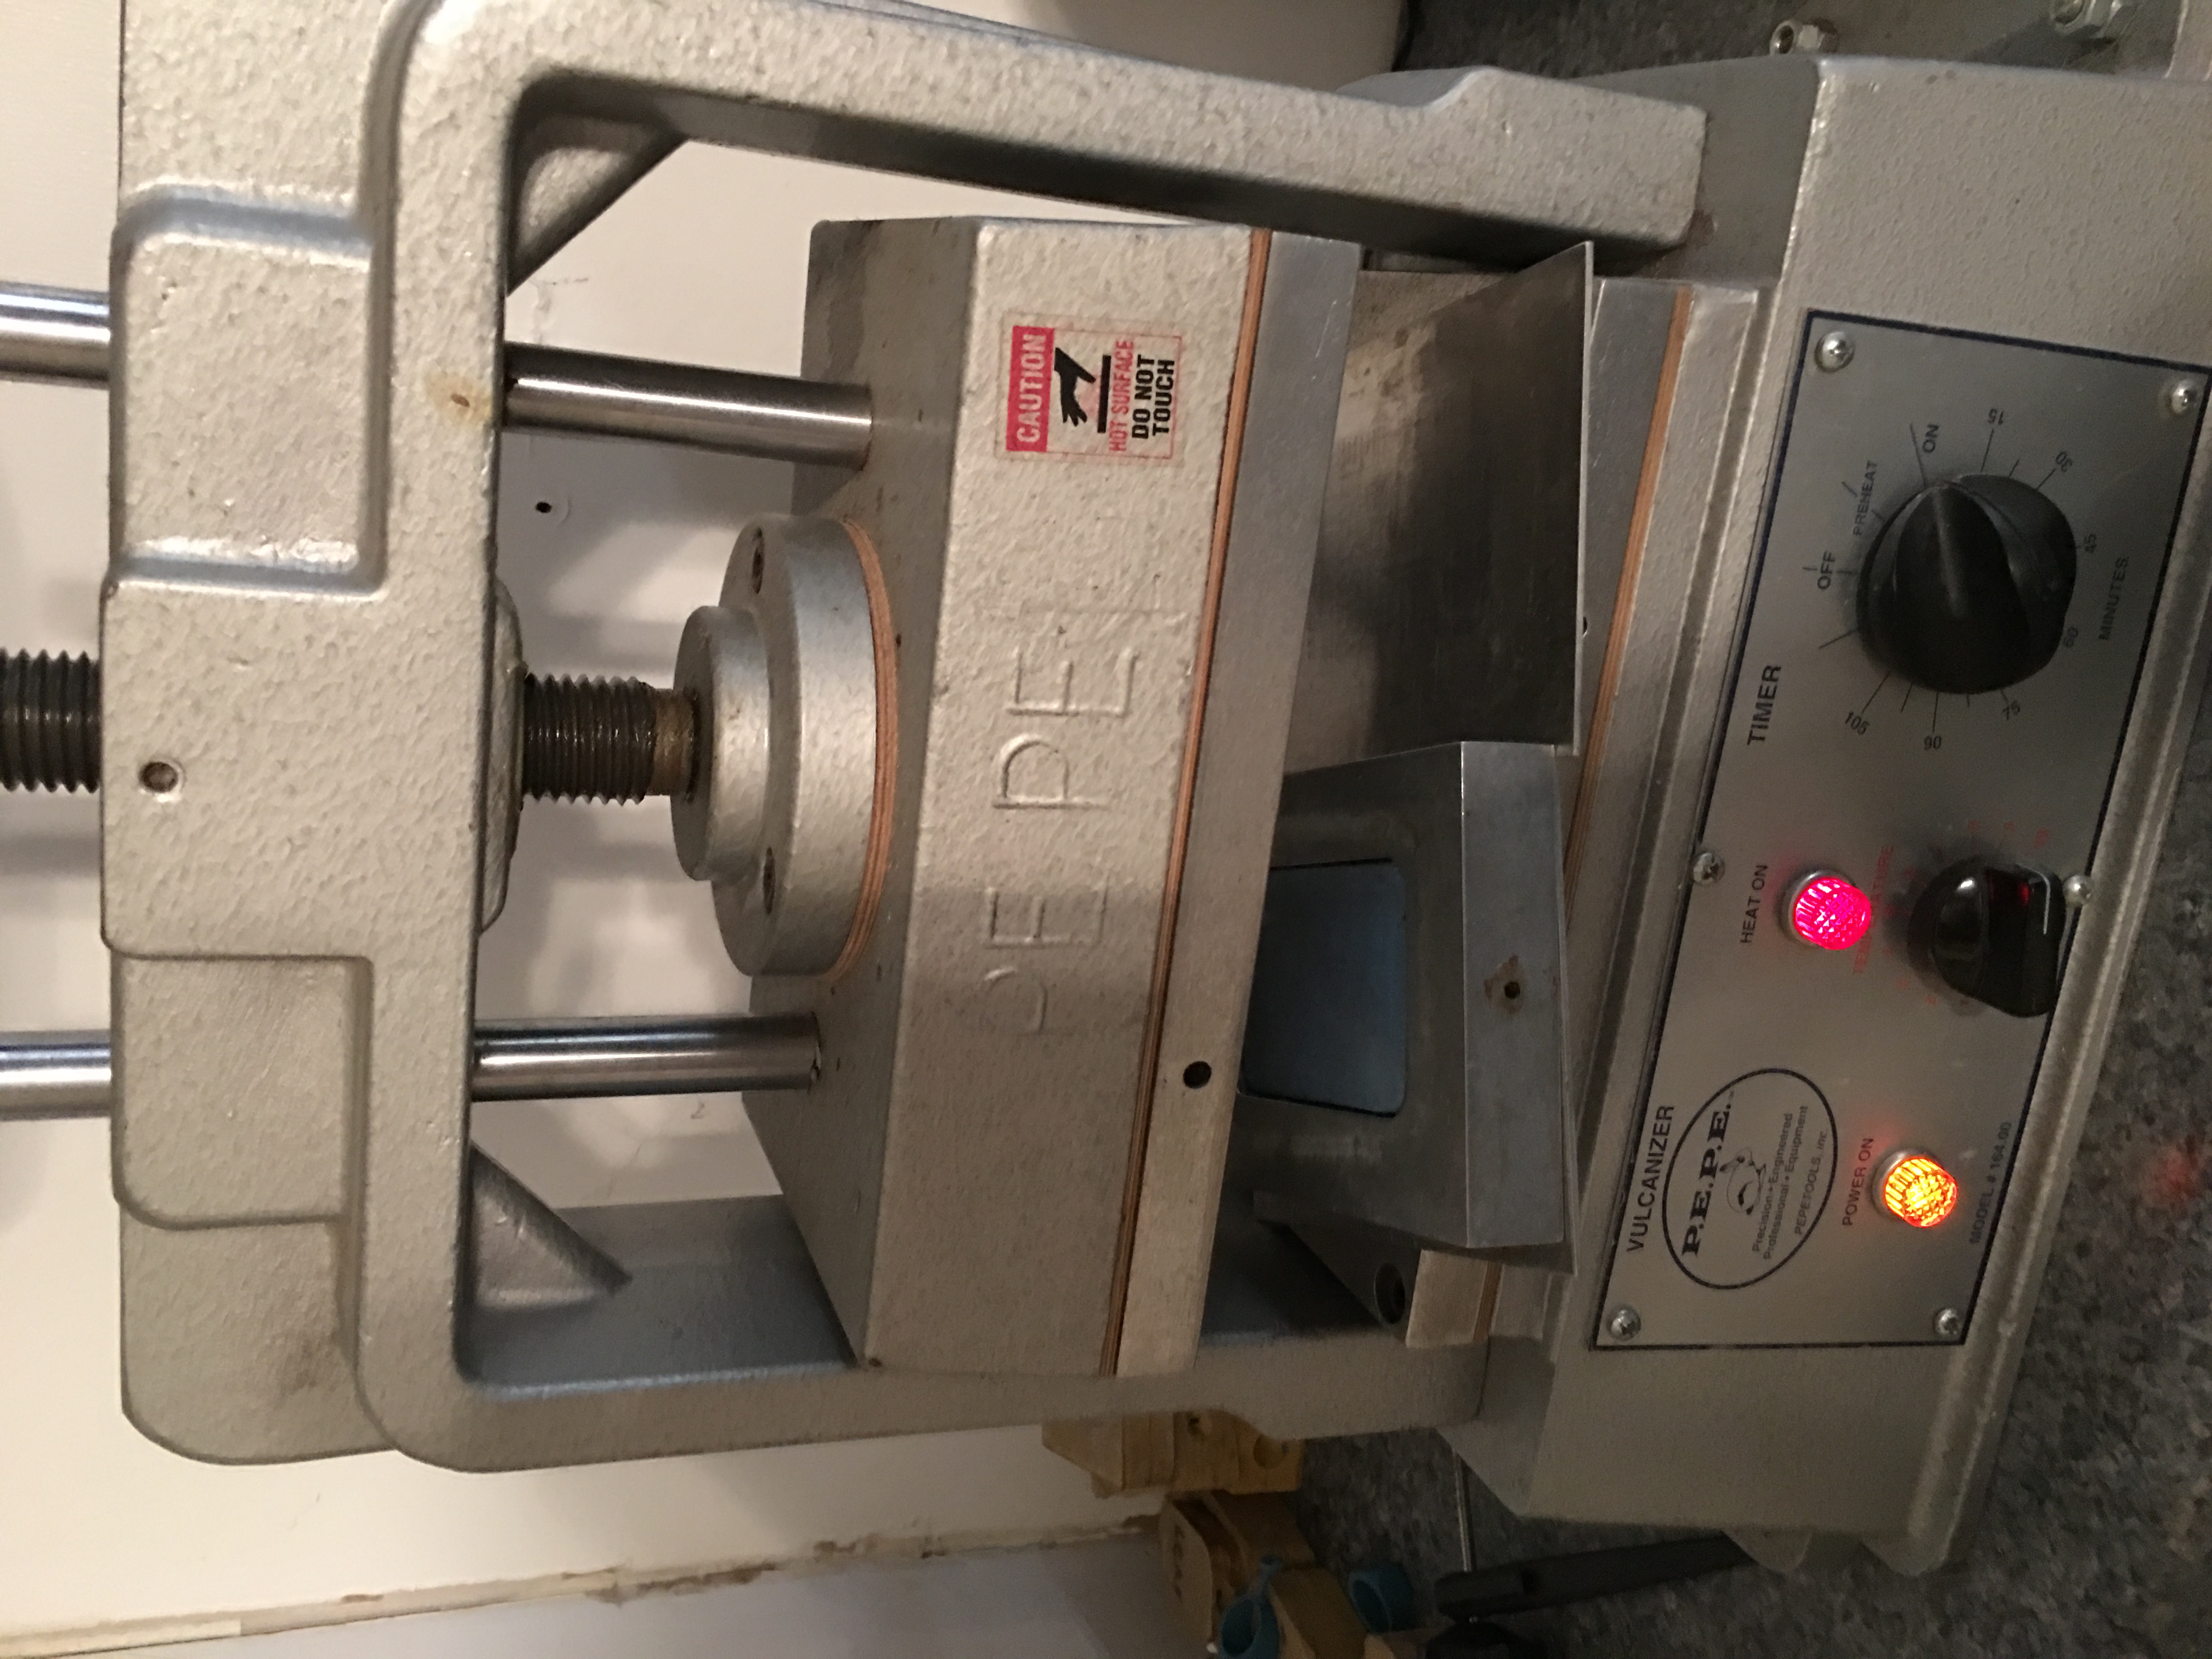
For example, in this case we wanted to make more copies of a ring we already had in stock. The first step is to make a mold of the ring. We take the existing ring, and we place it in container with eight sheets of rubber surrounding it. The container is placed in a hot press where it remains for about 40 minutes, during which time the rubber melts around the ring and makes a perfect mold of it. Along with the ring, a metal stem is placed in the container in order to create an opening where the wax will be injected at a later time.


IMG_7549

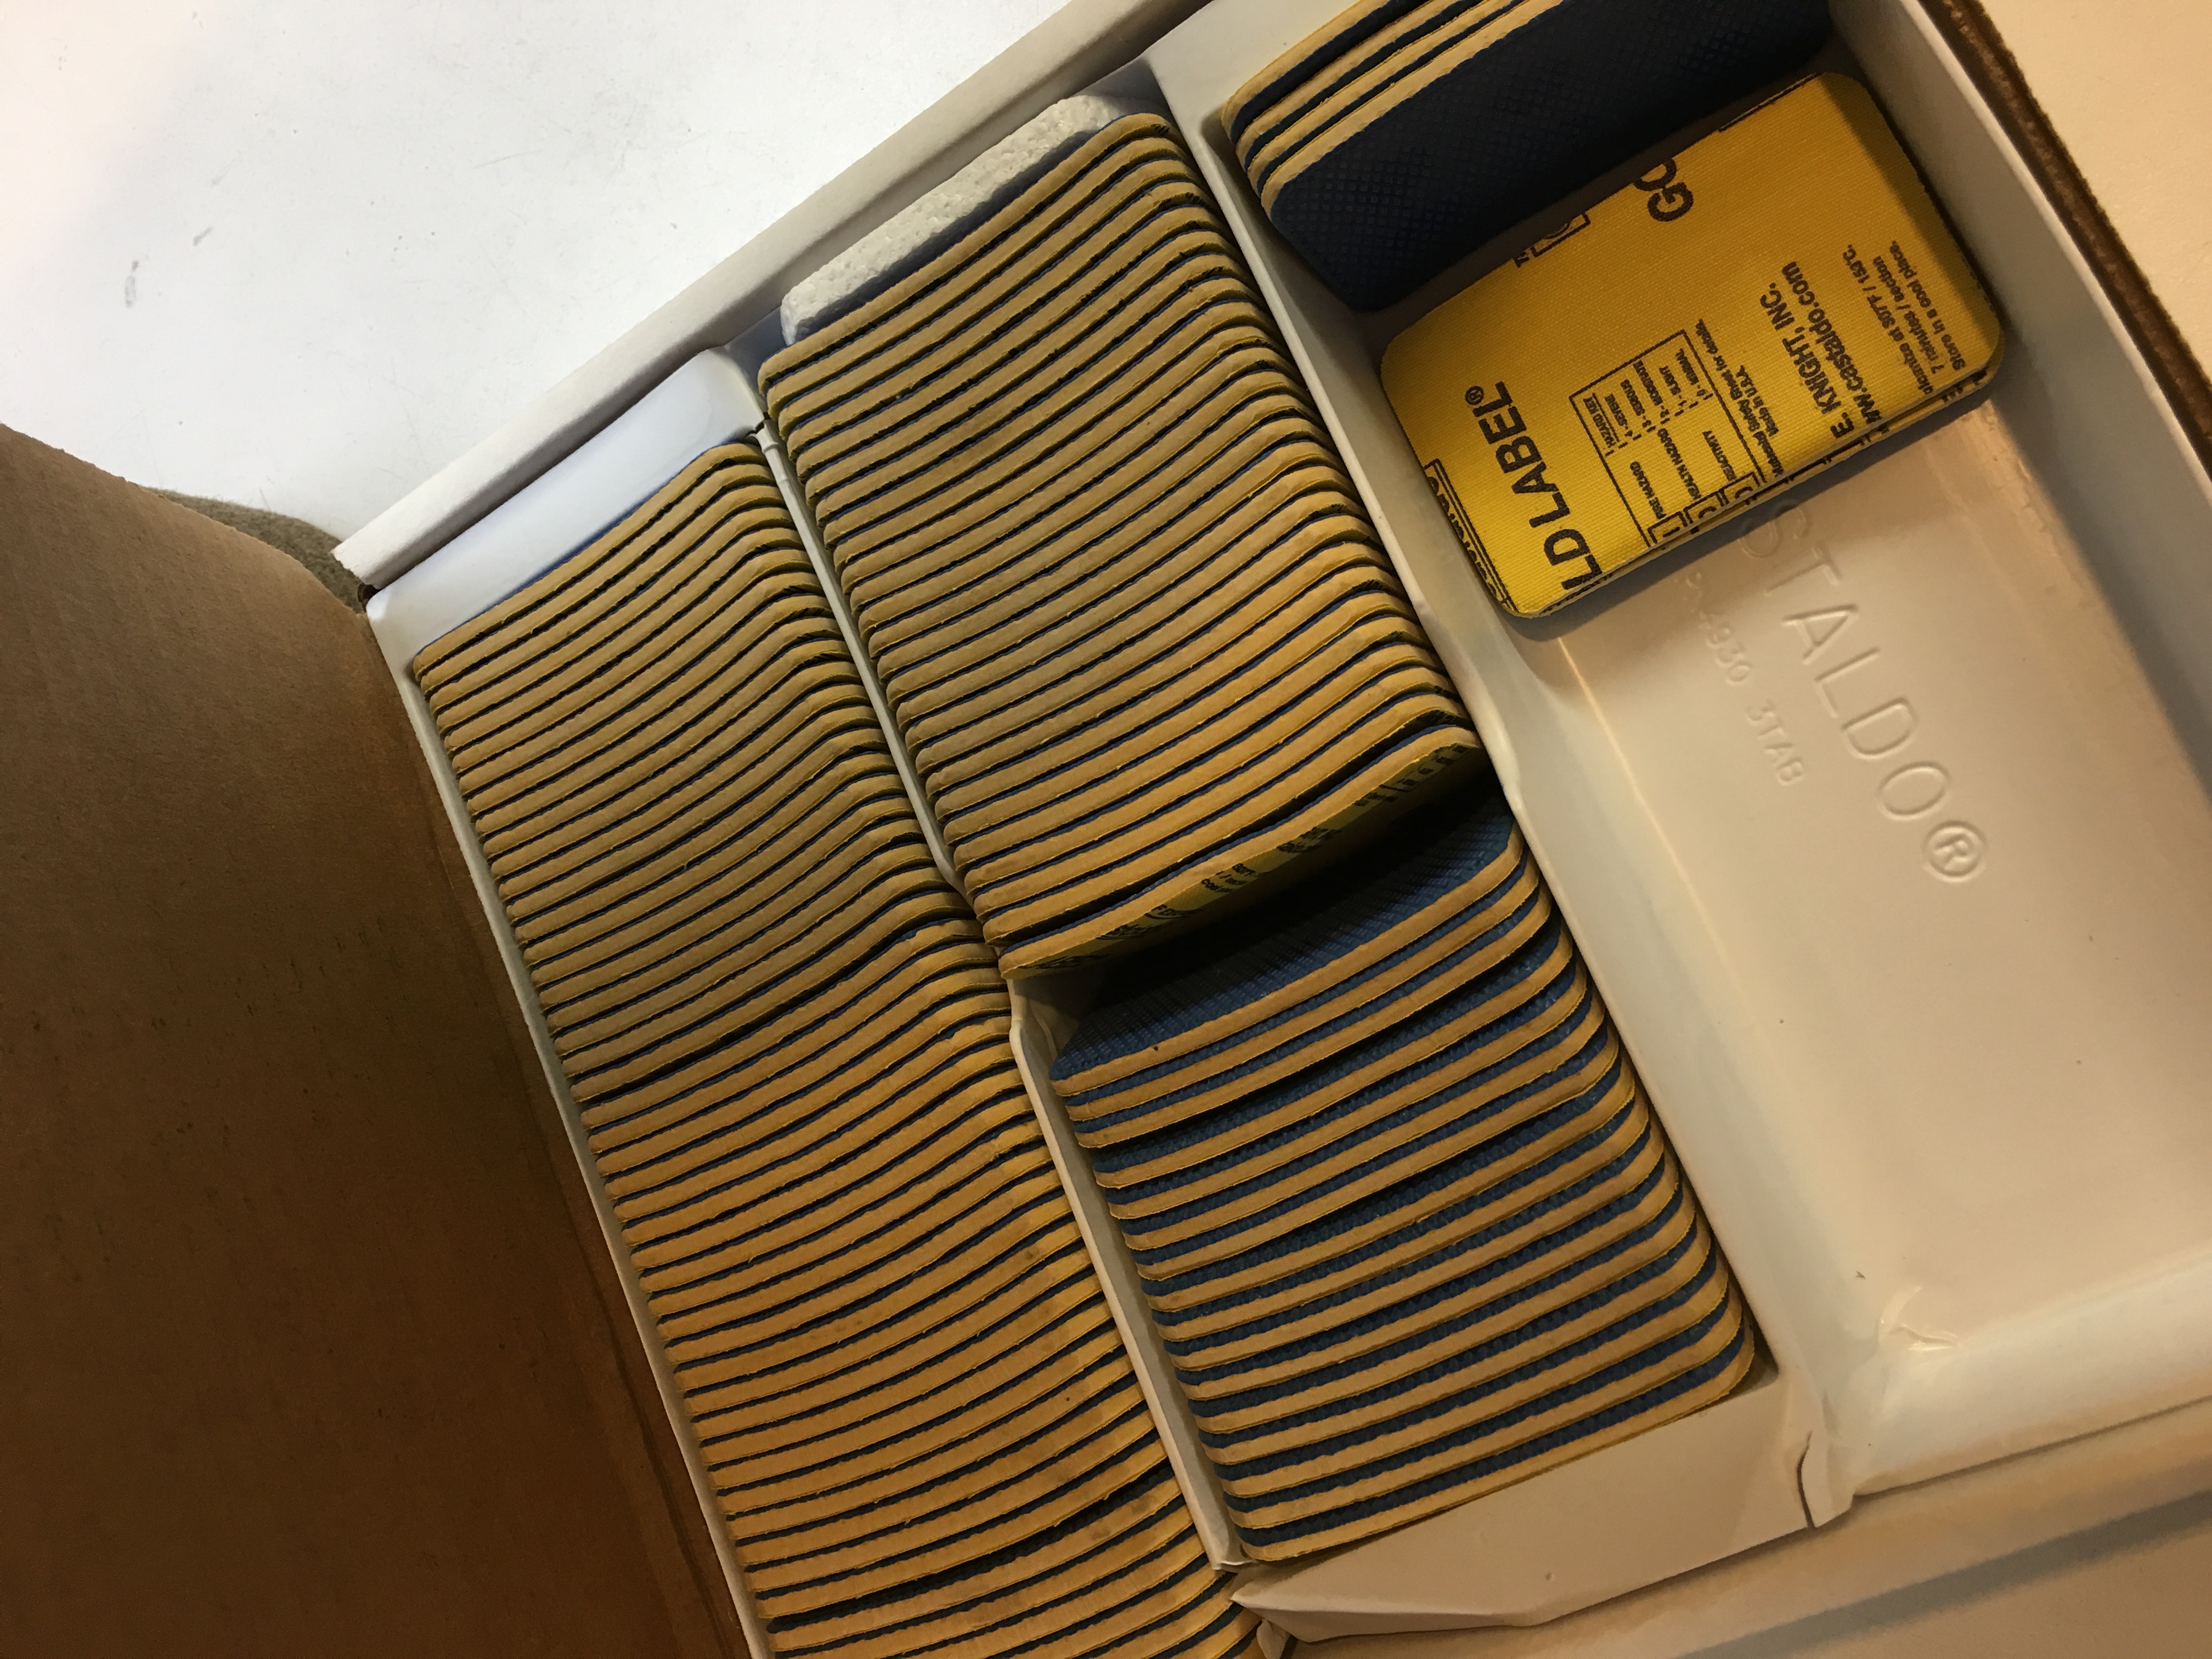
Sheets of rubber that are used to make a mold of a ring.


IMG_7544

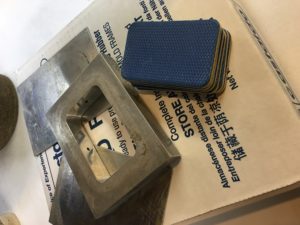
The ring is placed in the center of the stack of sheets, then inserted into this container where the rubber will melt around it.


IMG_7545

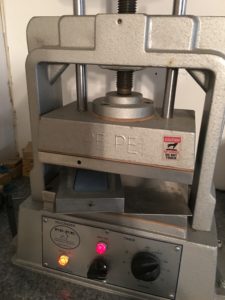
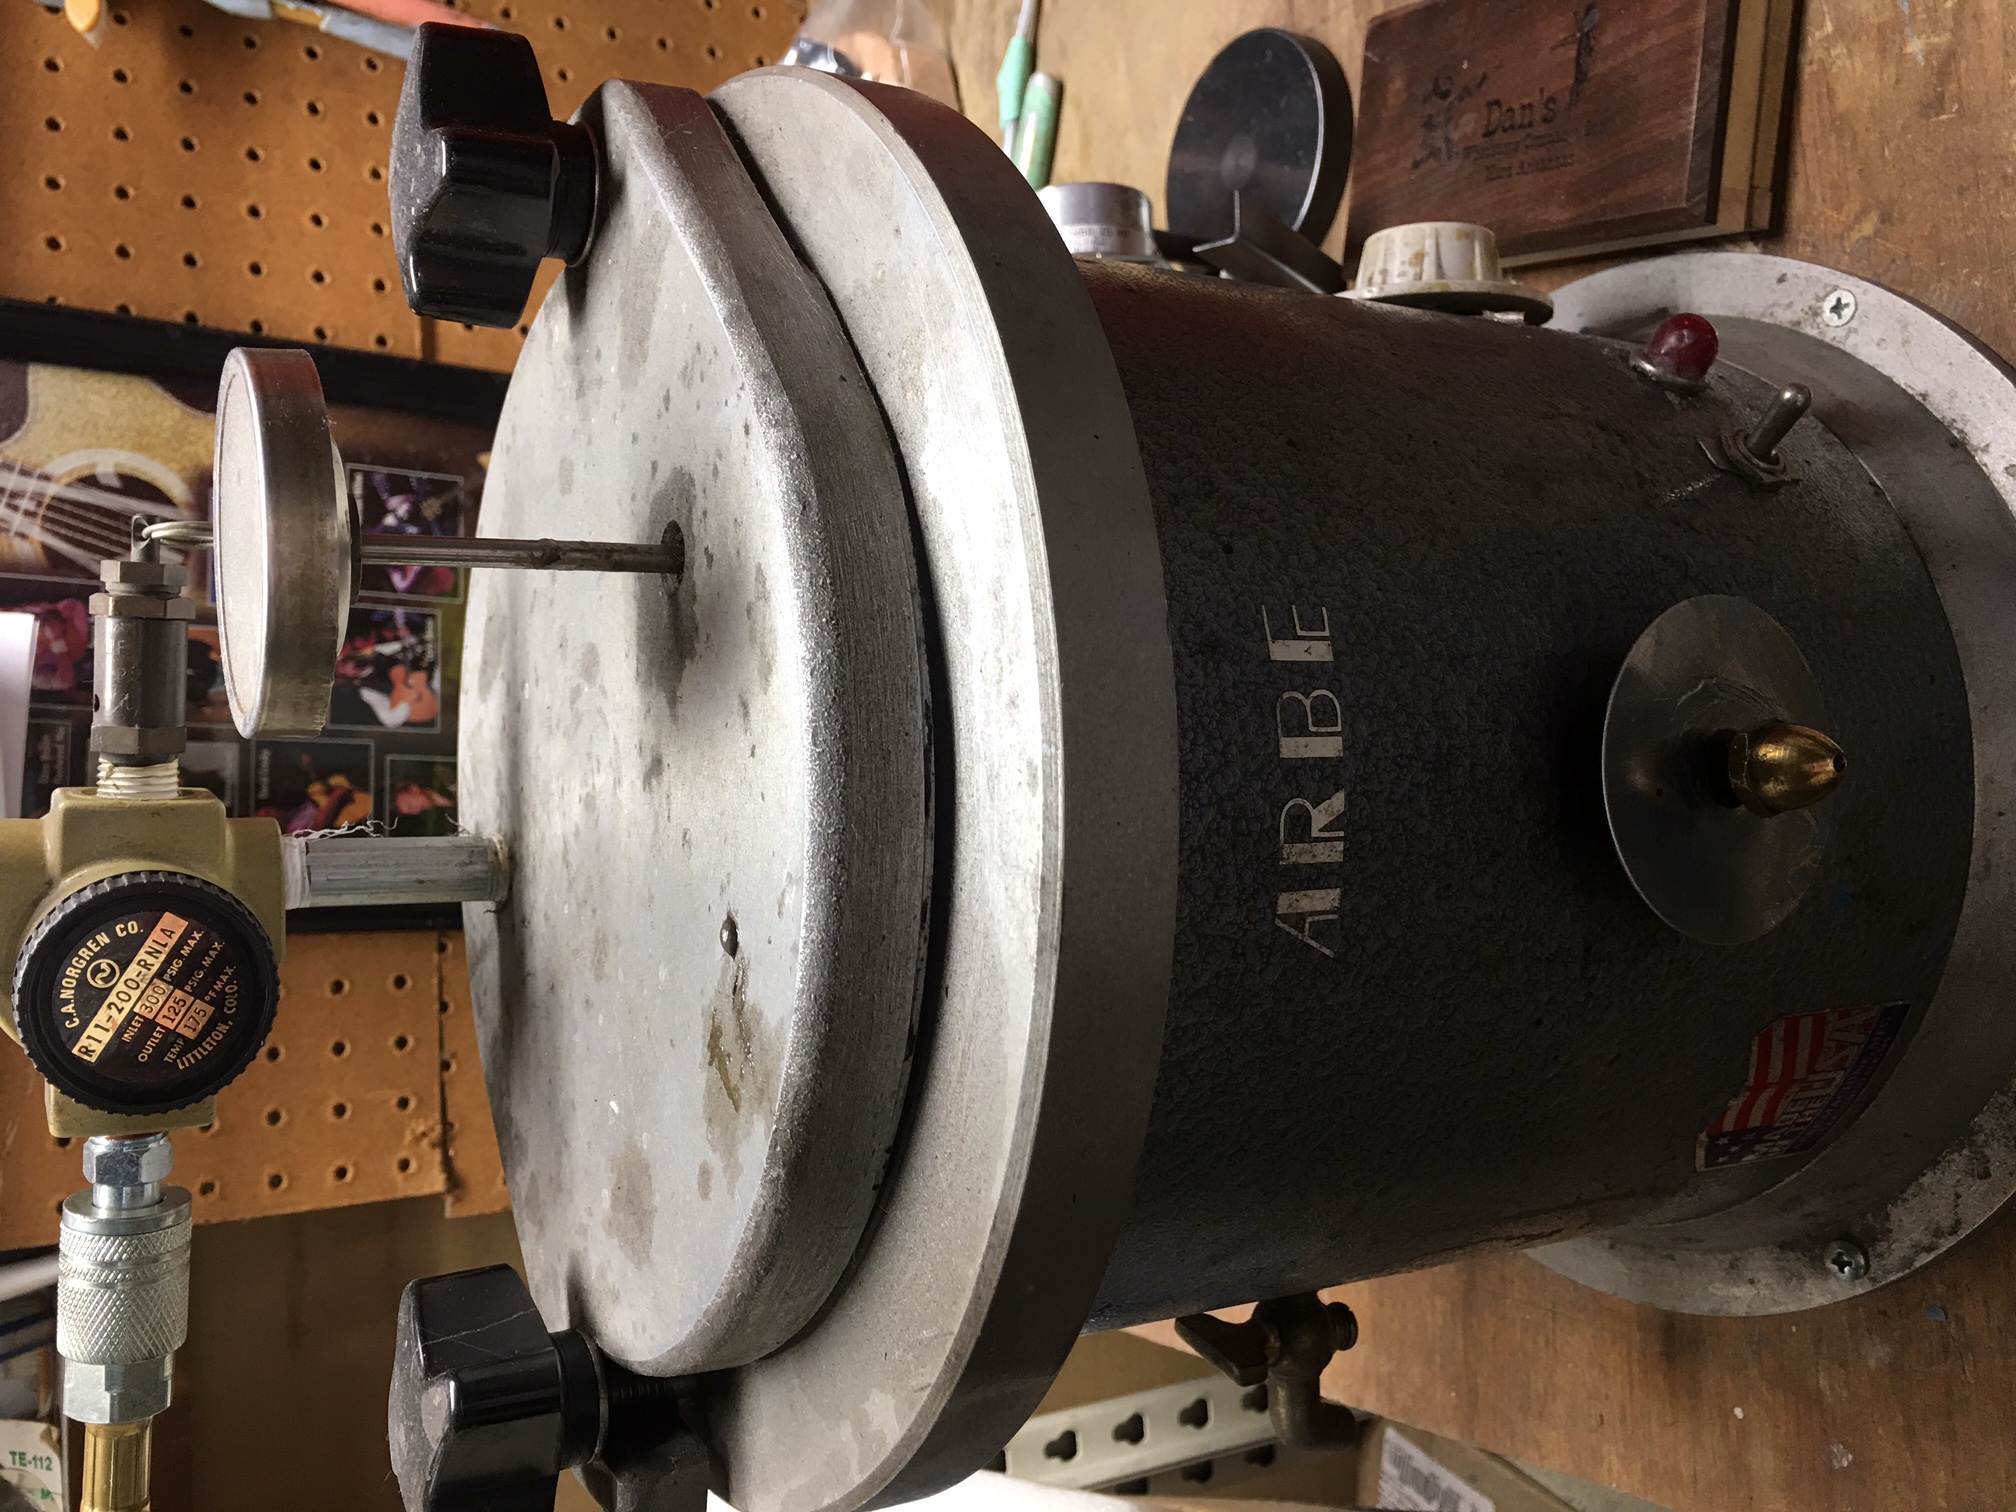
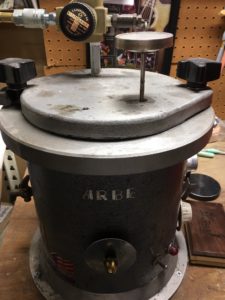
The container of rubber (and the ring) are placed into the vulcanizer in order to melt the rubber and make the mold.


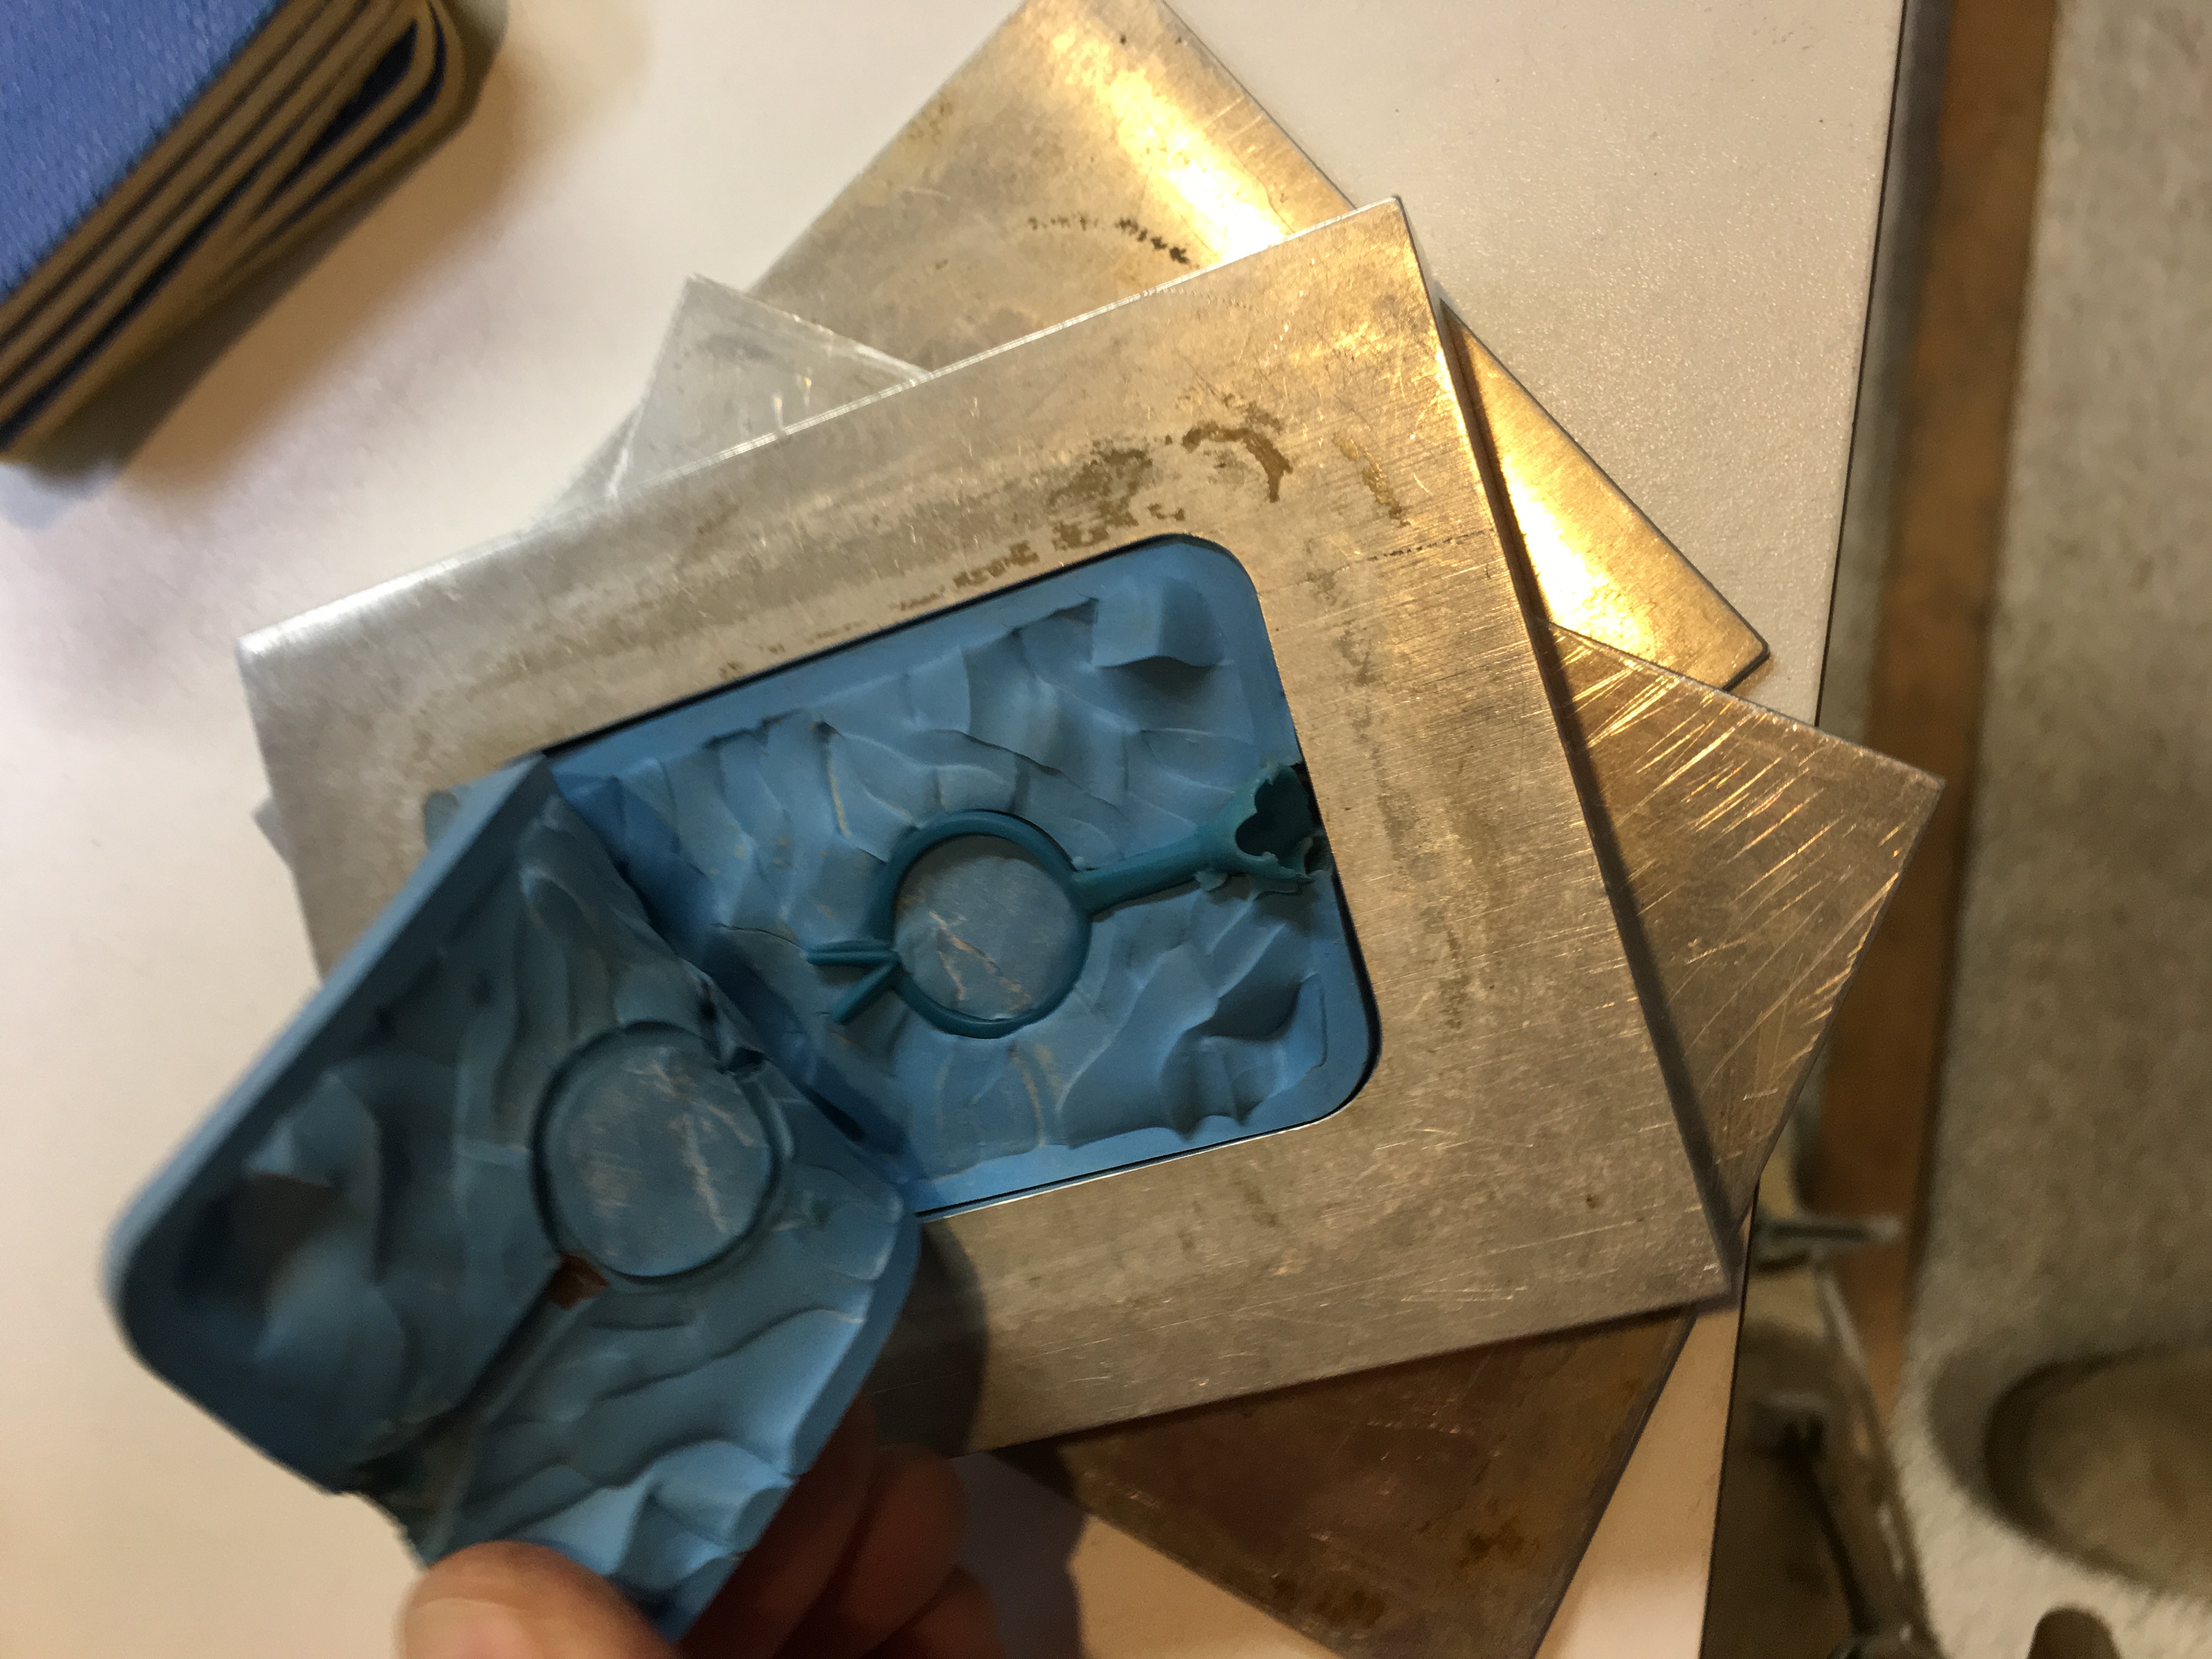
Once the rubber mold has been removed from the vulcanizer, cooled and hardened back to its original state, a blade is used (with a very special and precise technique) to cut the mold open in such a way that it can be closed back tightly in order to make the wax duplicate.

IMG_7547

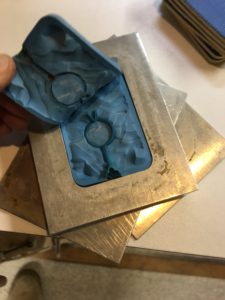
The mold has been strategically cut open, and in this photo you can see the wax replica in the center.


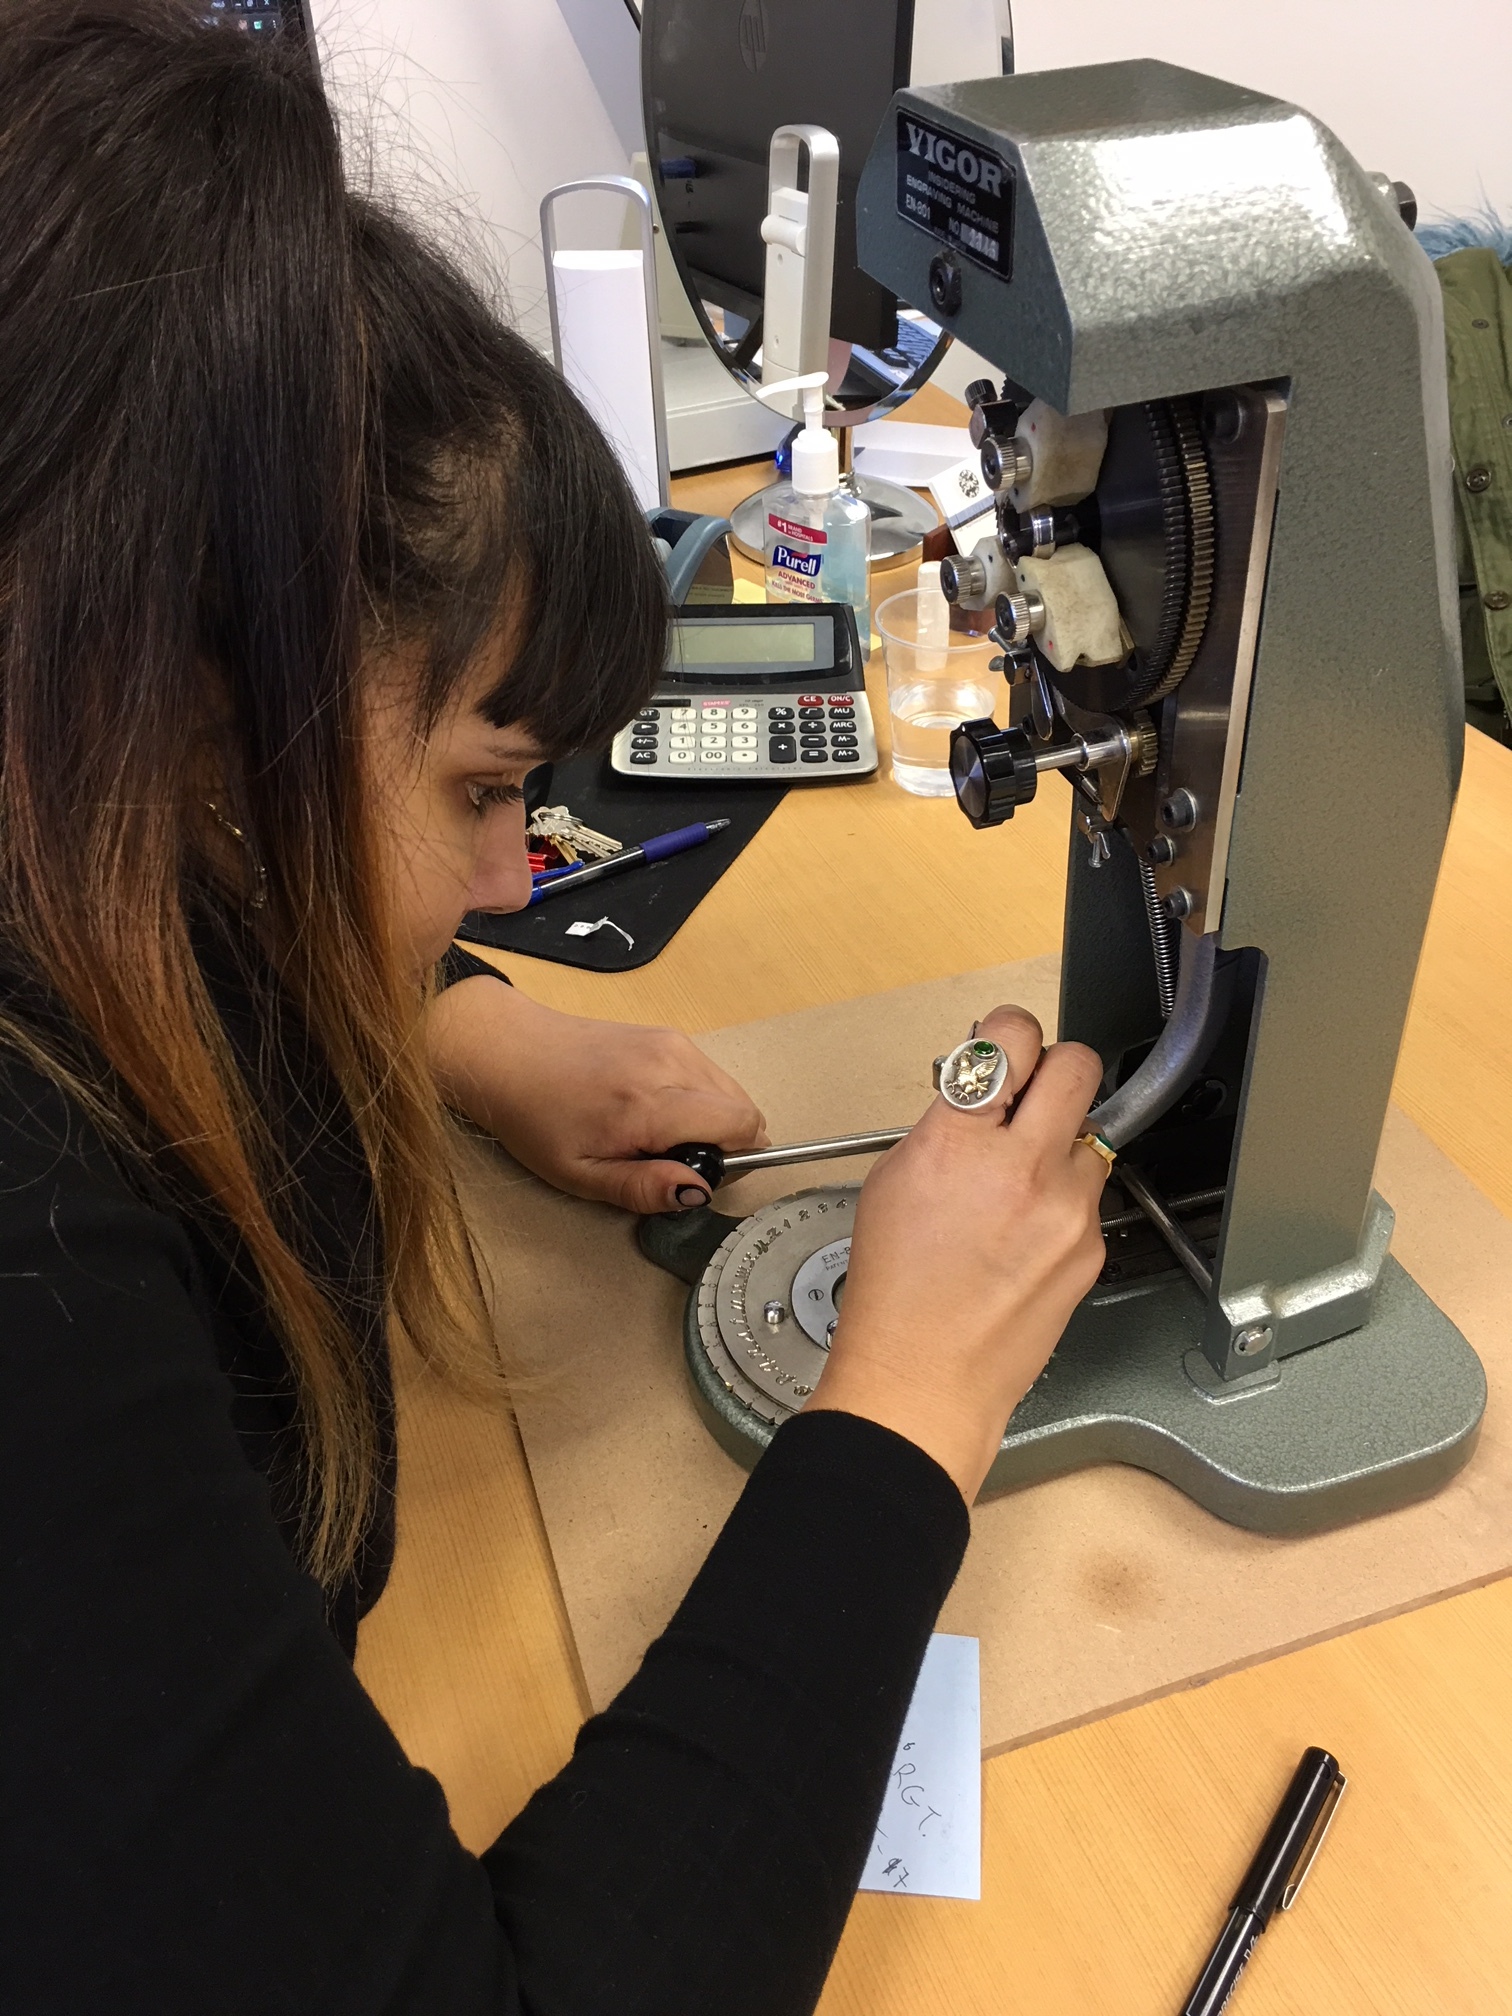
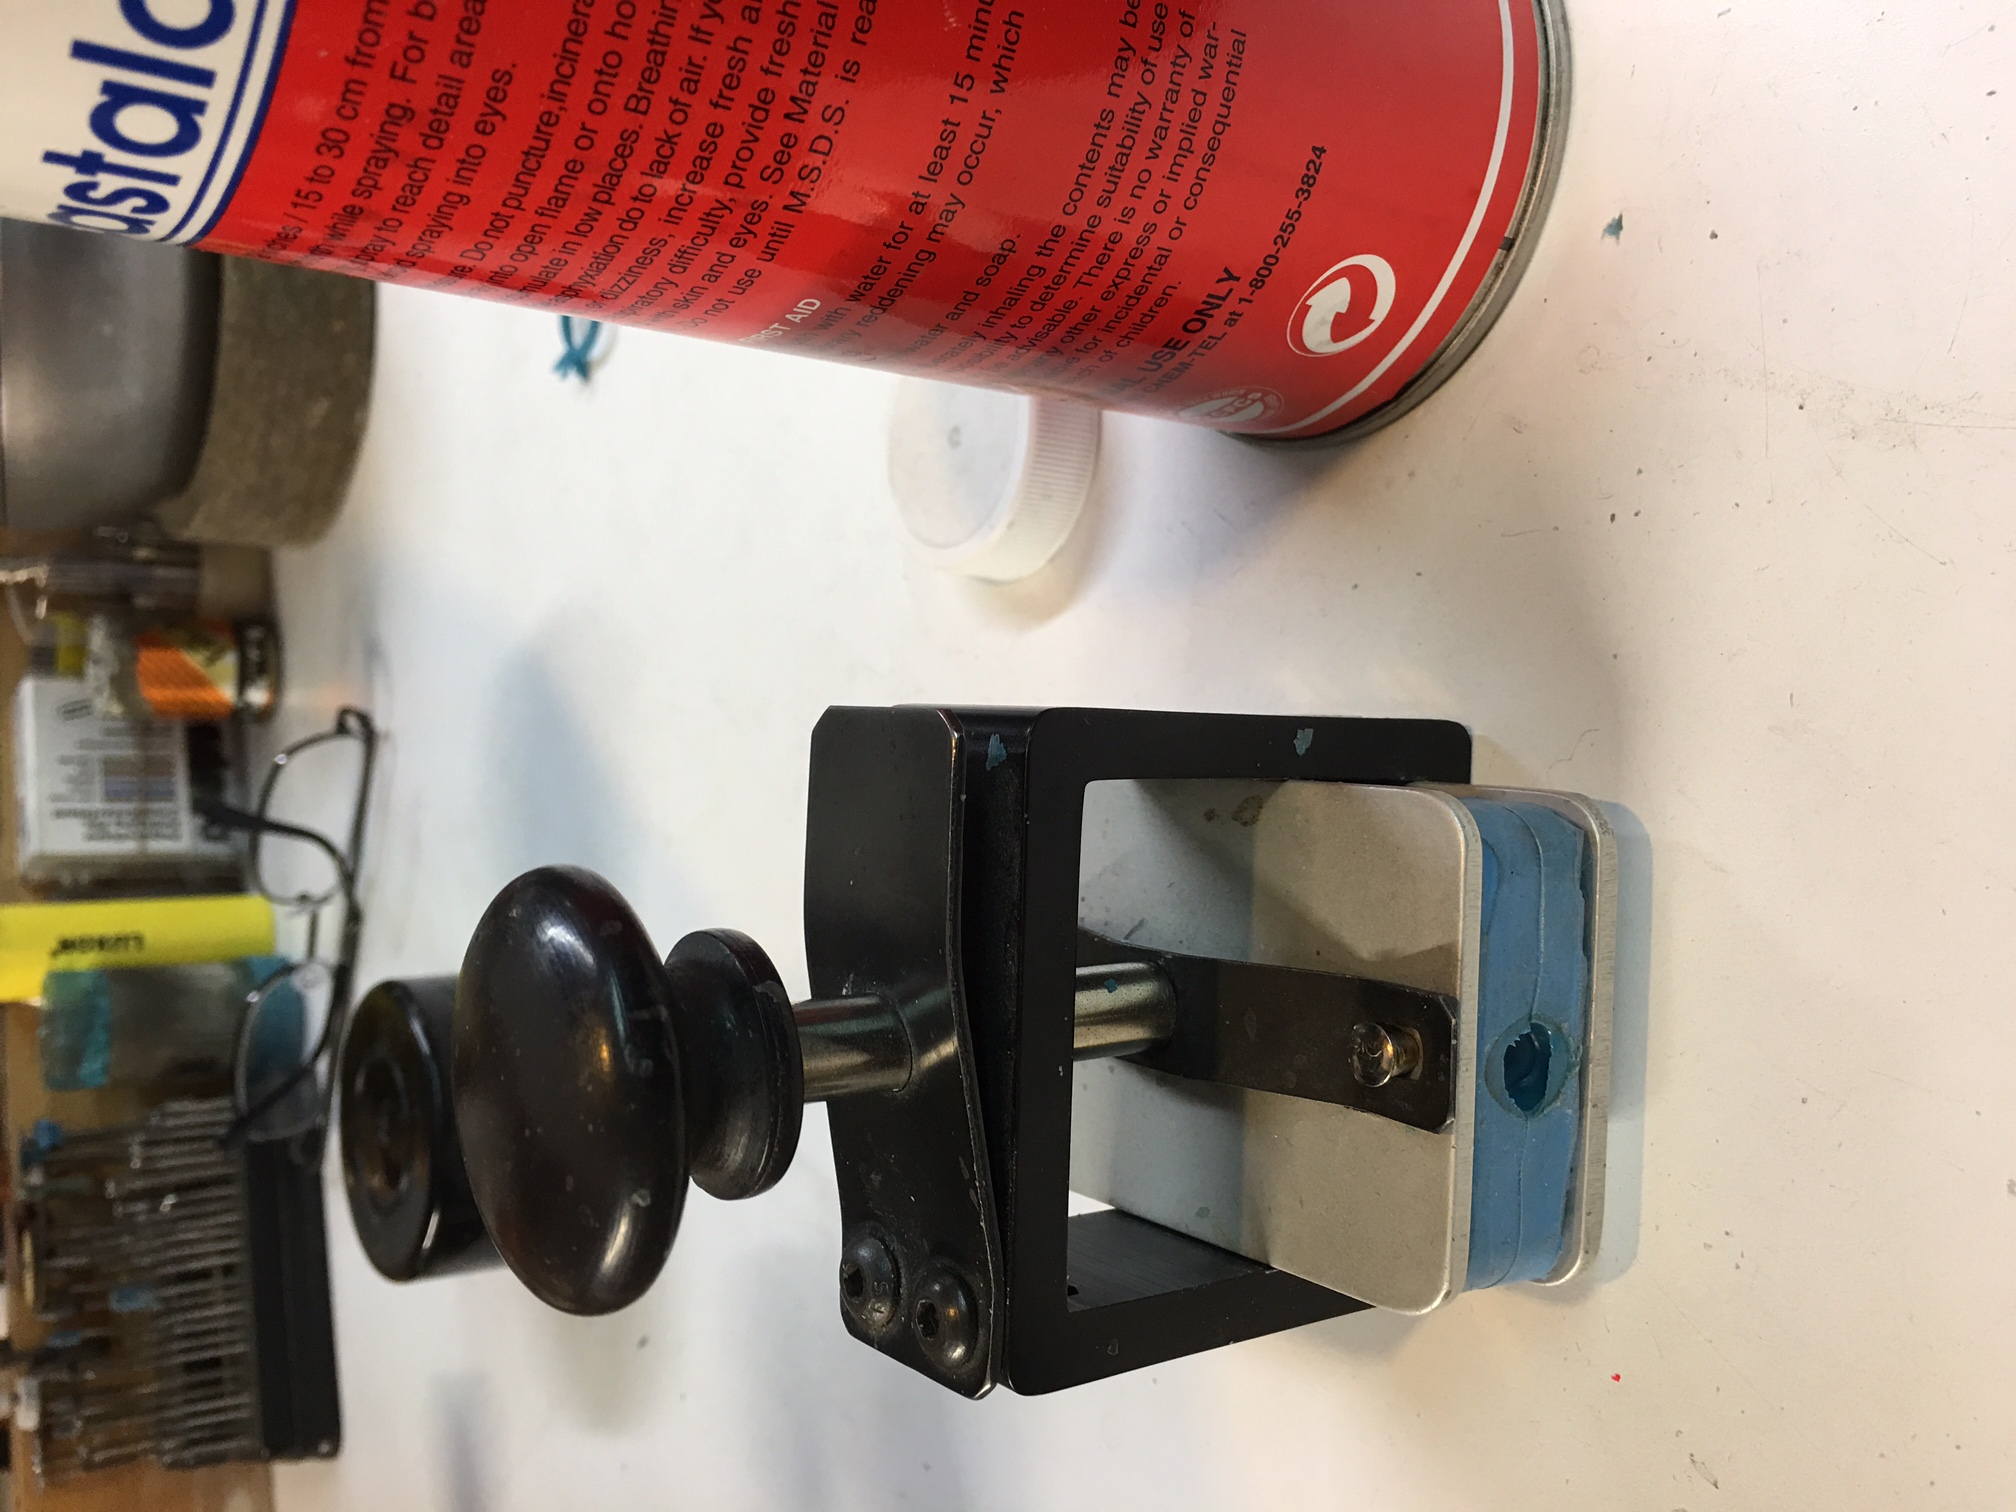
Wax flakes, as pictured below, are placed in a wax injector and melted so that they can be injected into the mold. Using air pressure, the wax is shot into the mold through the opening.

IMG_7481

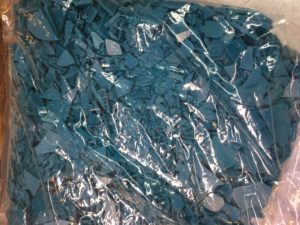
Wax flakes used for making wax replicas.


IMG_7483

The wax flakes are placed into this wax injector where they are melted and ready to be shot into the mold.


IMG_7484

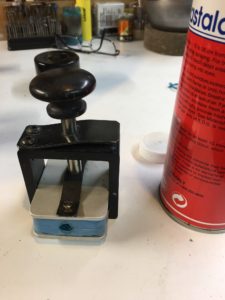
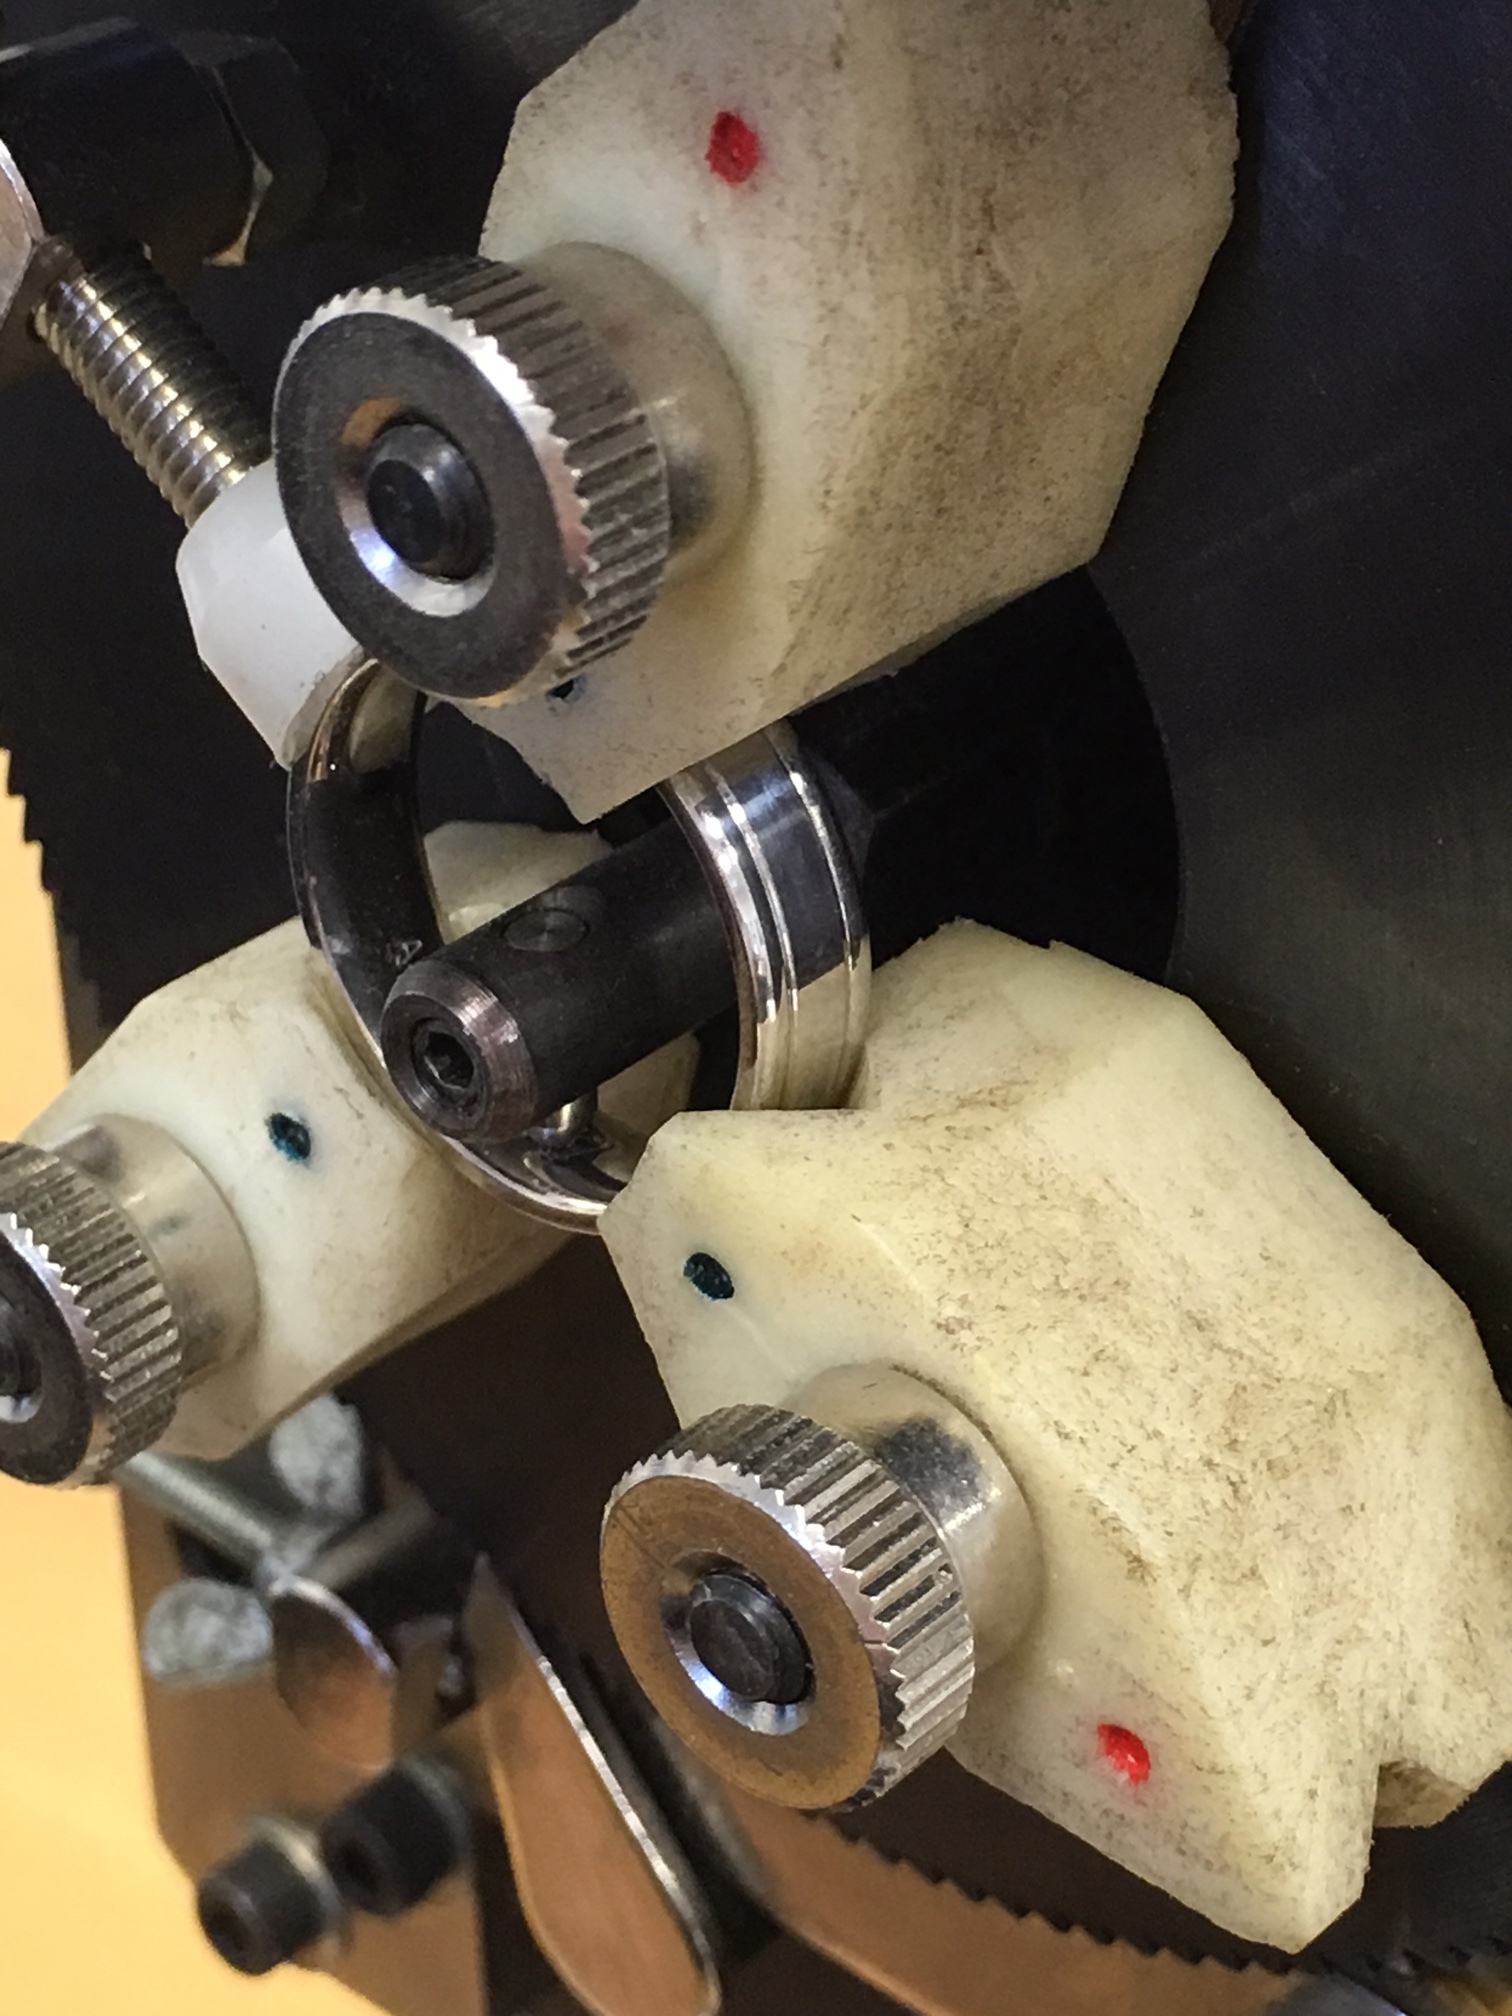
The mold is placed into this holder before the wax is injected.


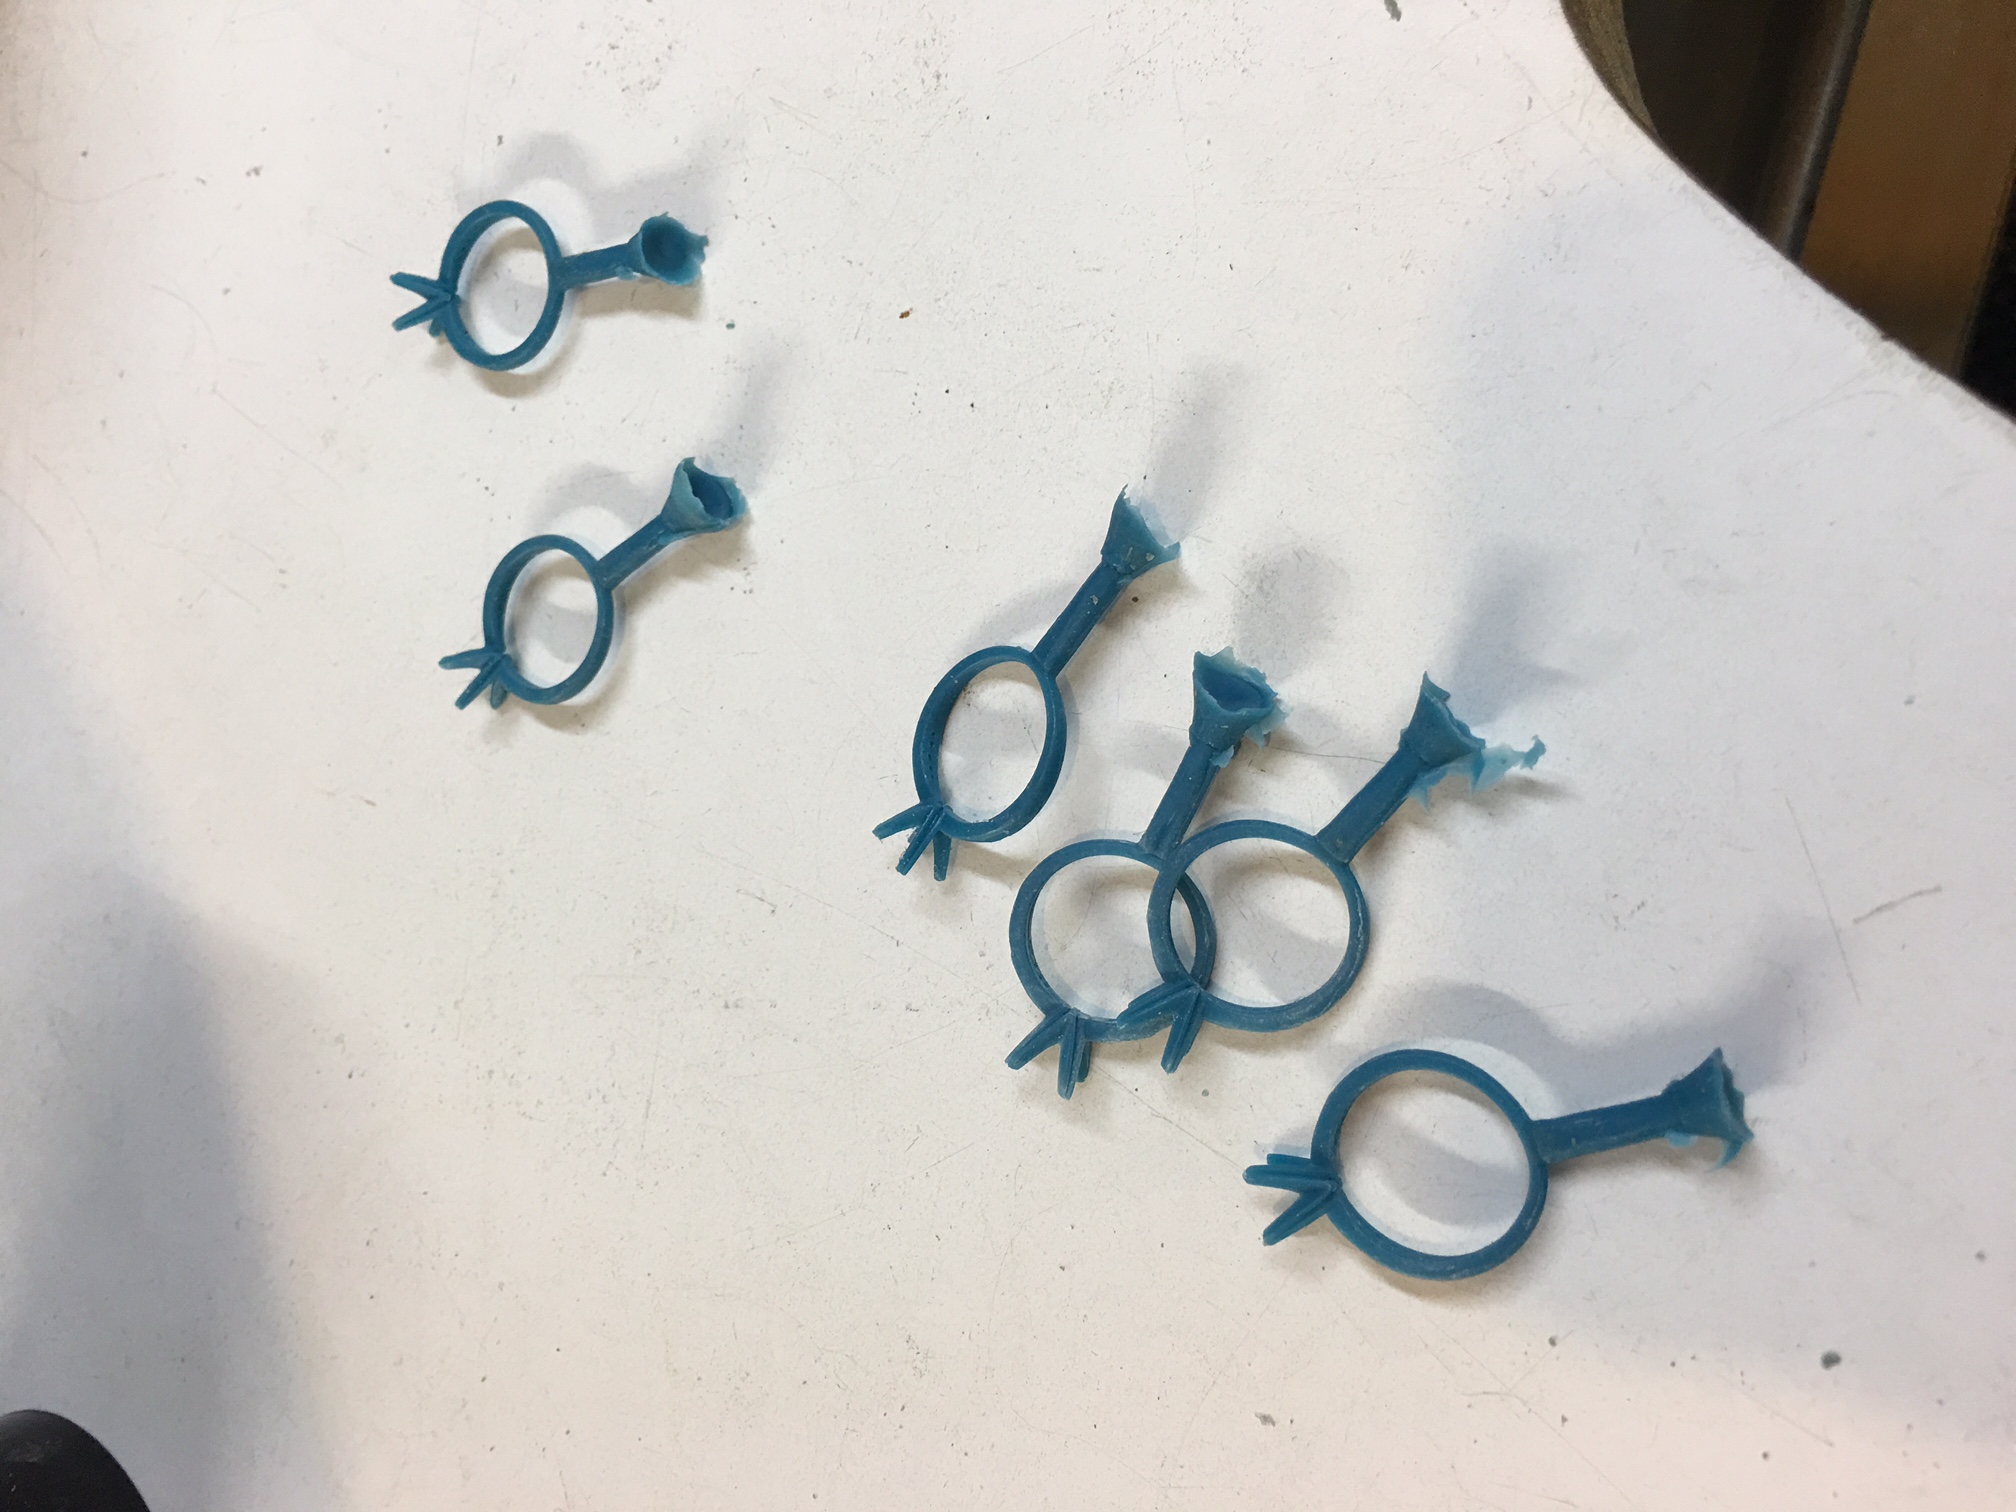
We make several wax replicas so that we can be sure to have one that comes out perfectly. Sometimes it takes several attempts in order to get the perfect wax model.


IMG_7482

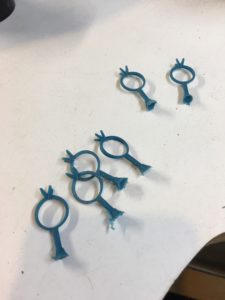
The result: several wax replicas of the ring. It’s always good to do several in case one comes out imperfect or damaged. The casting company chooses the best one and replicates the ring based on that.


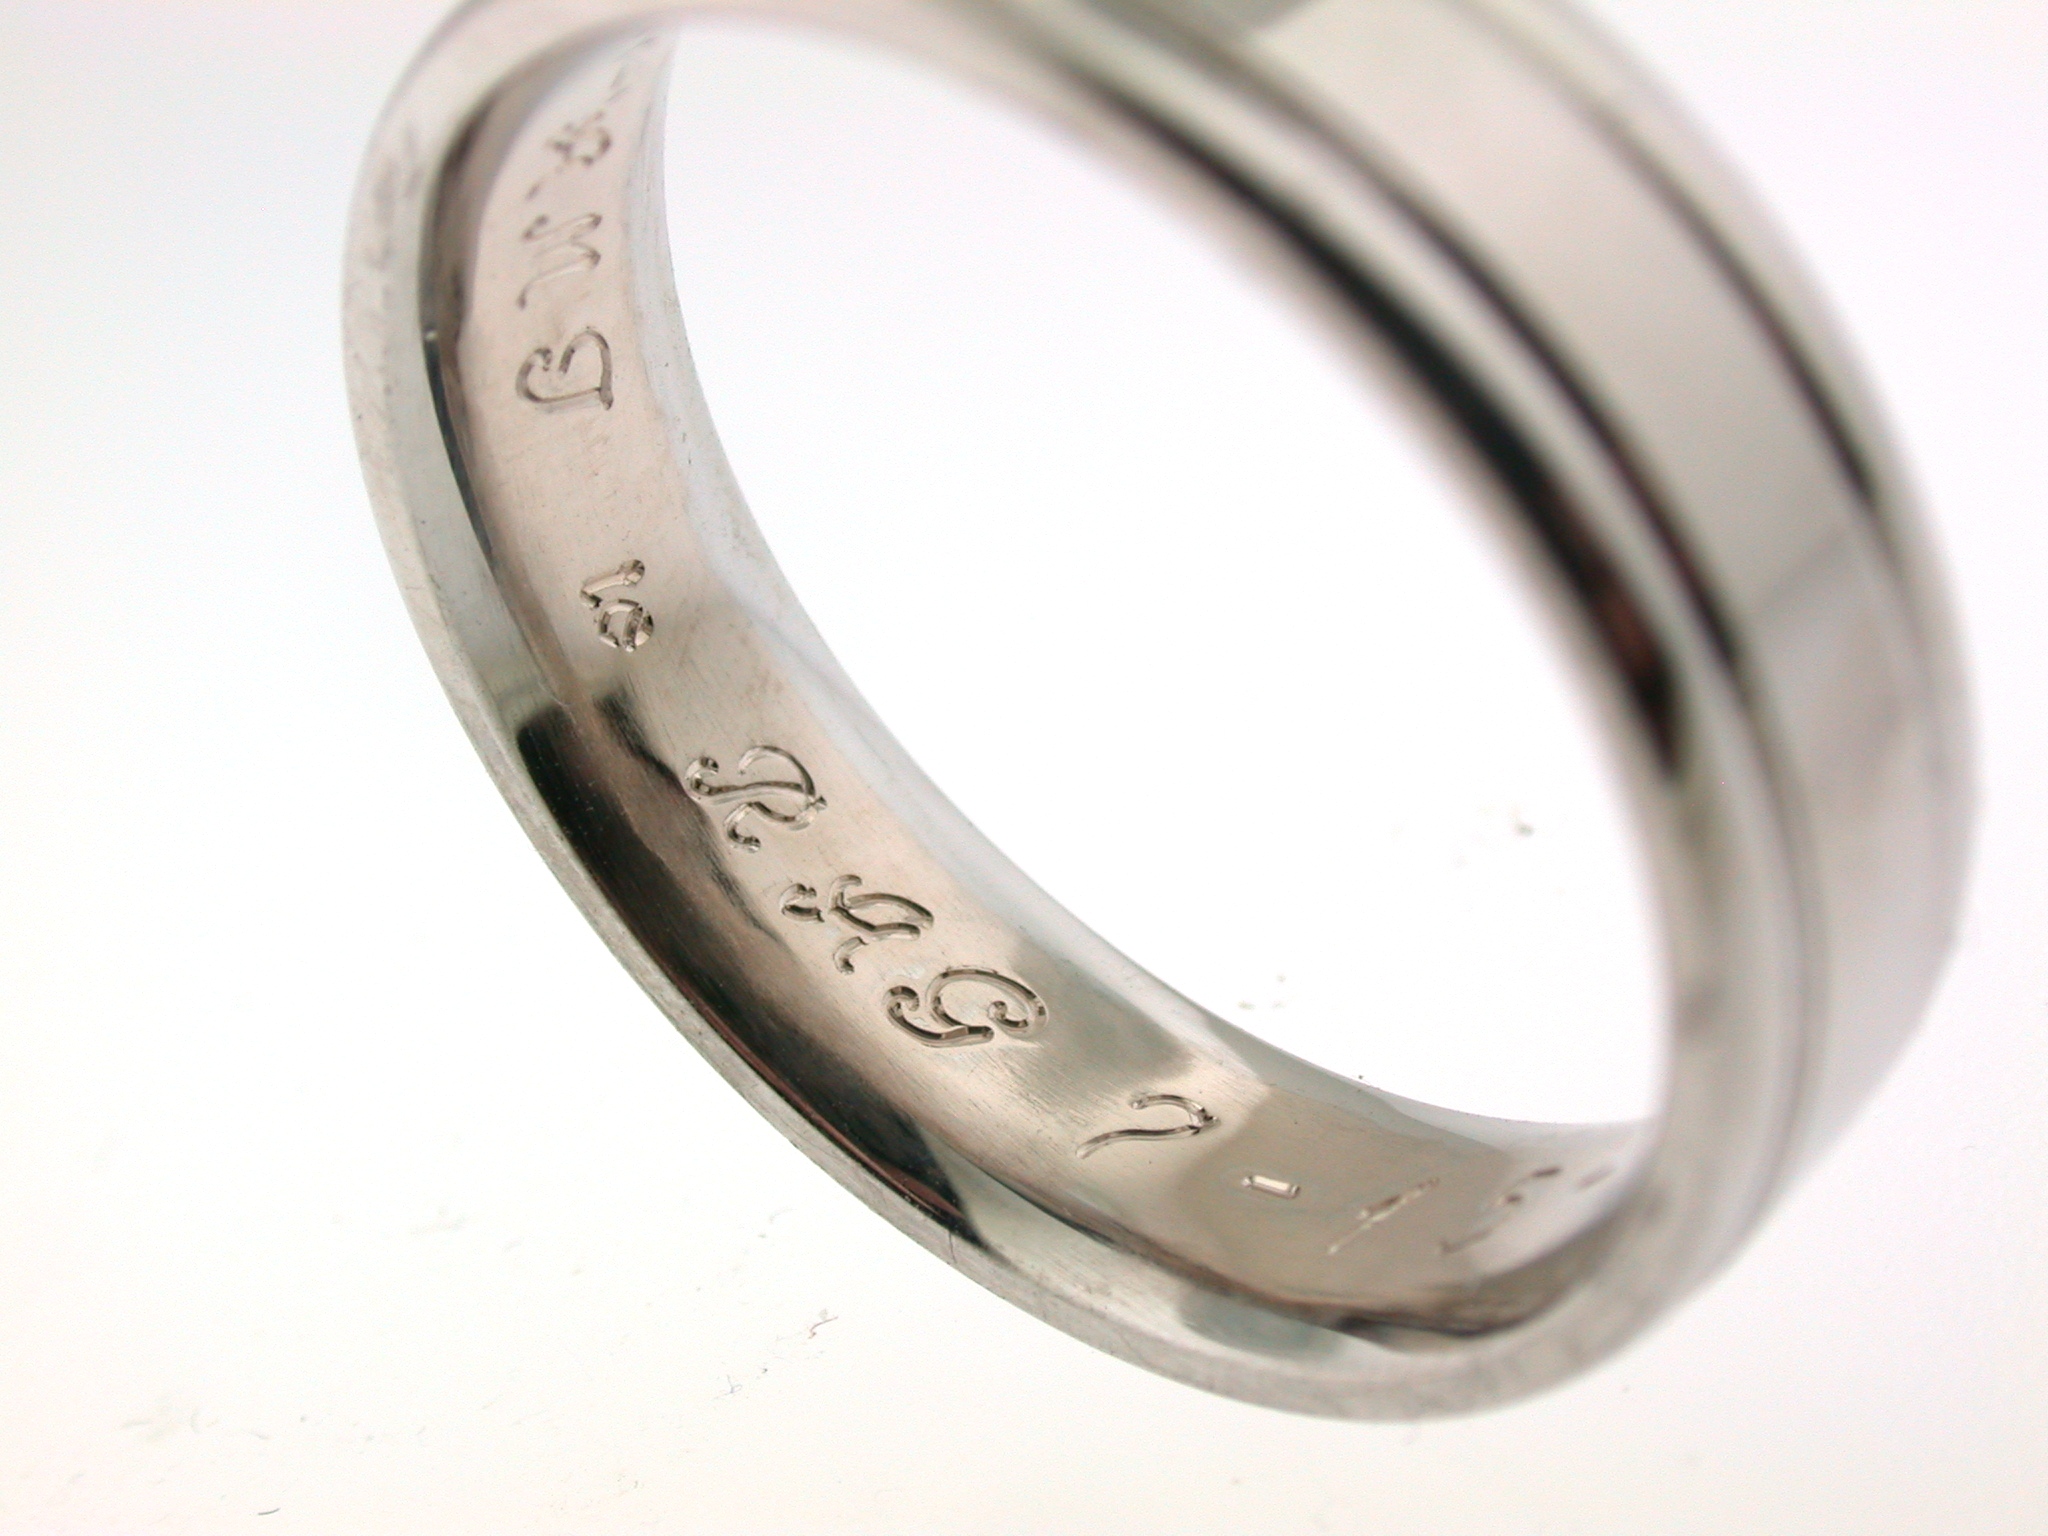
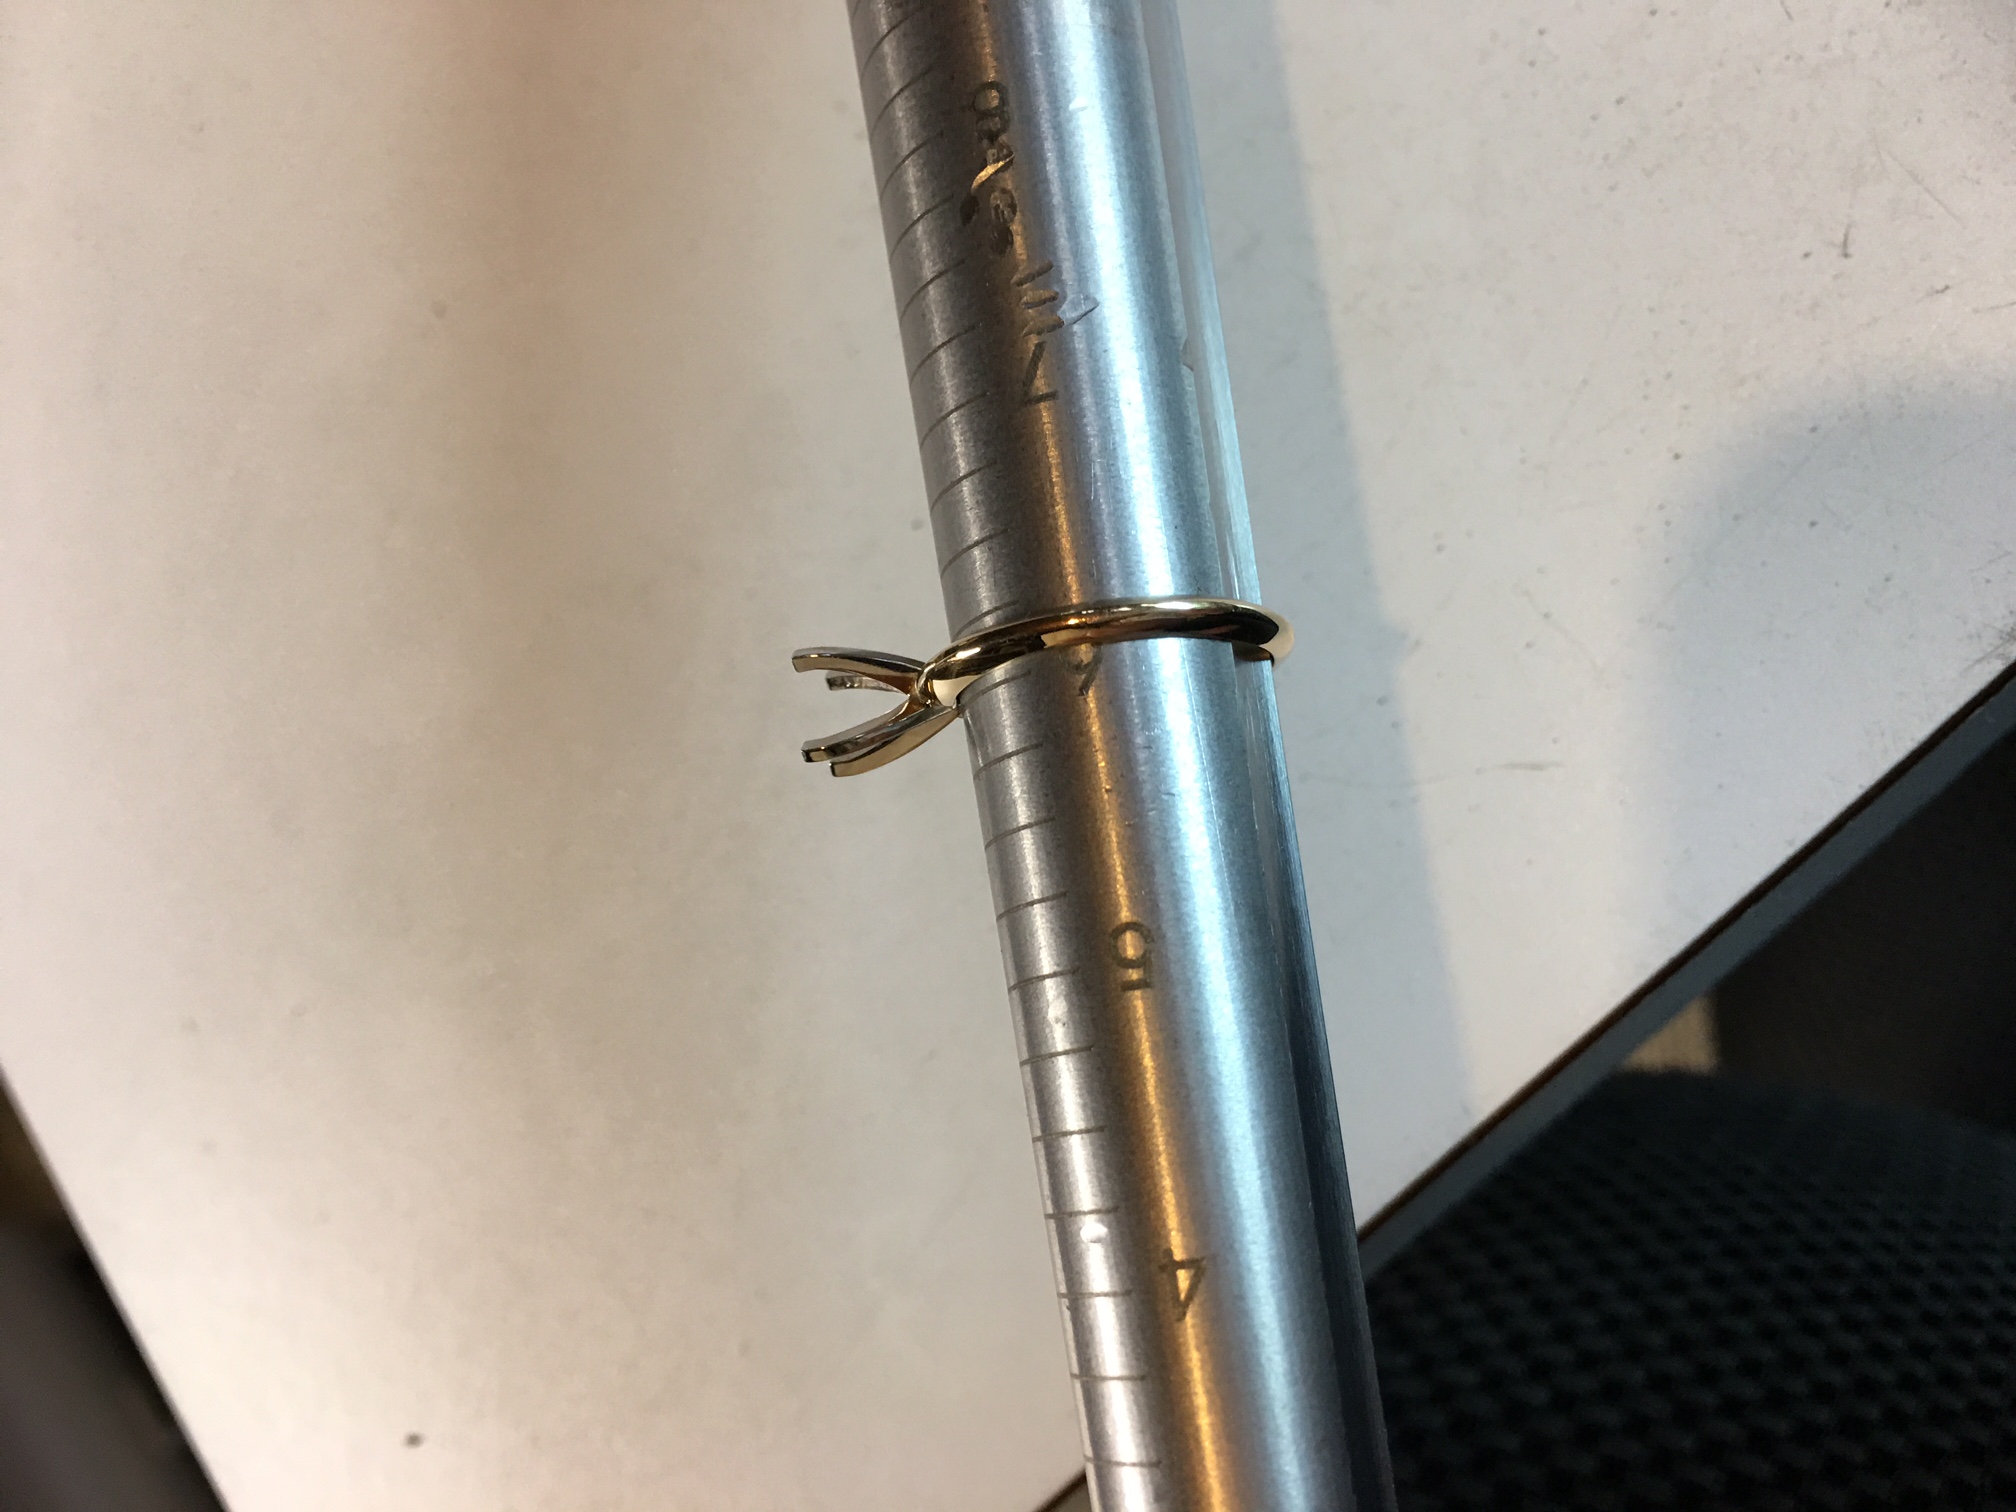
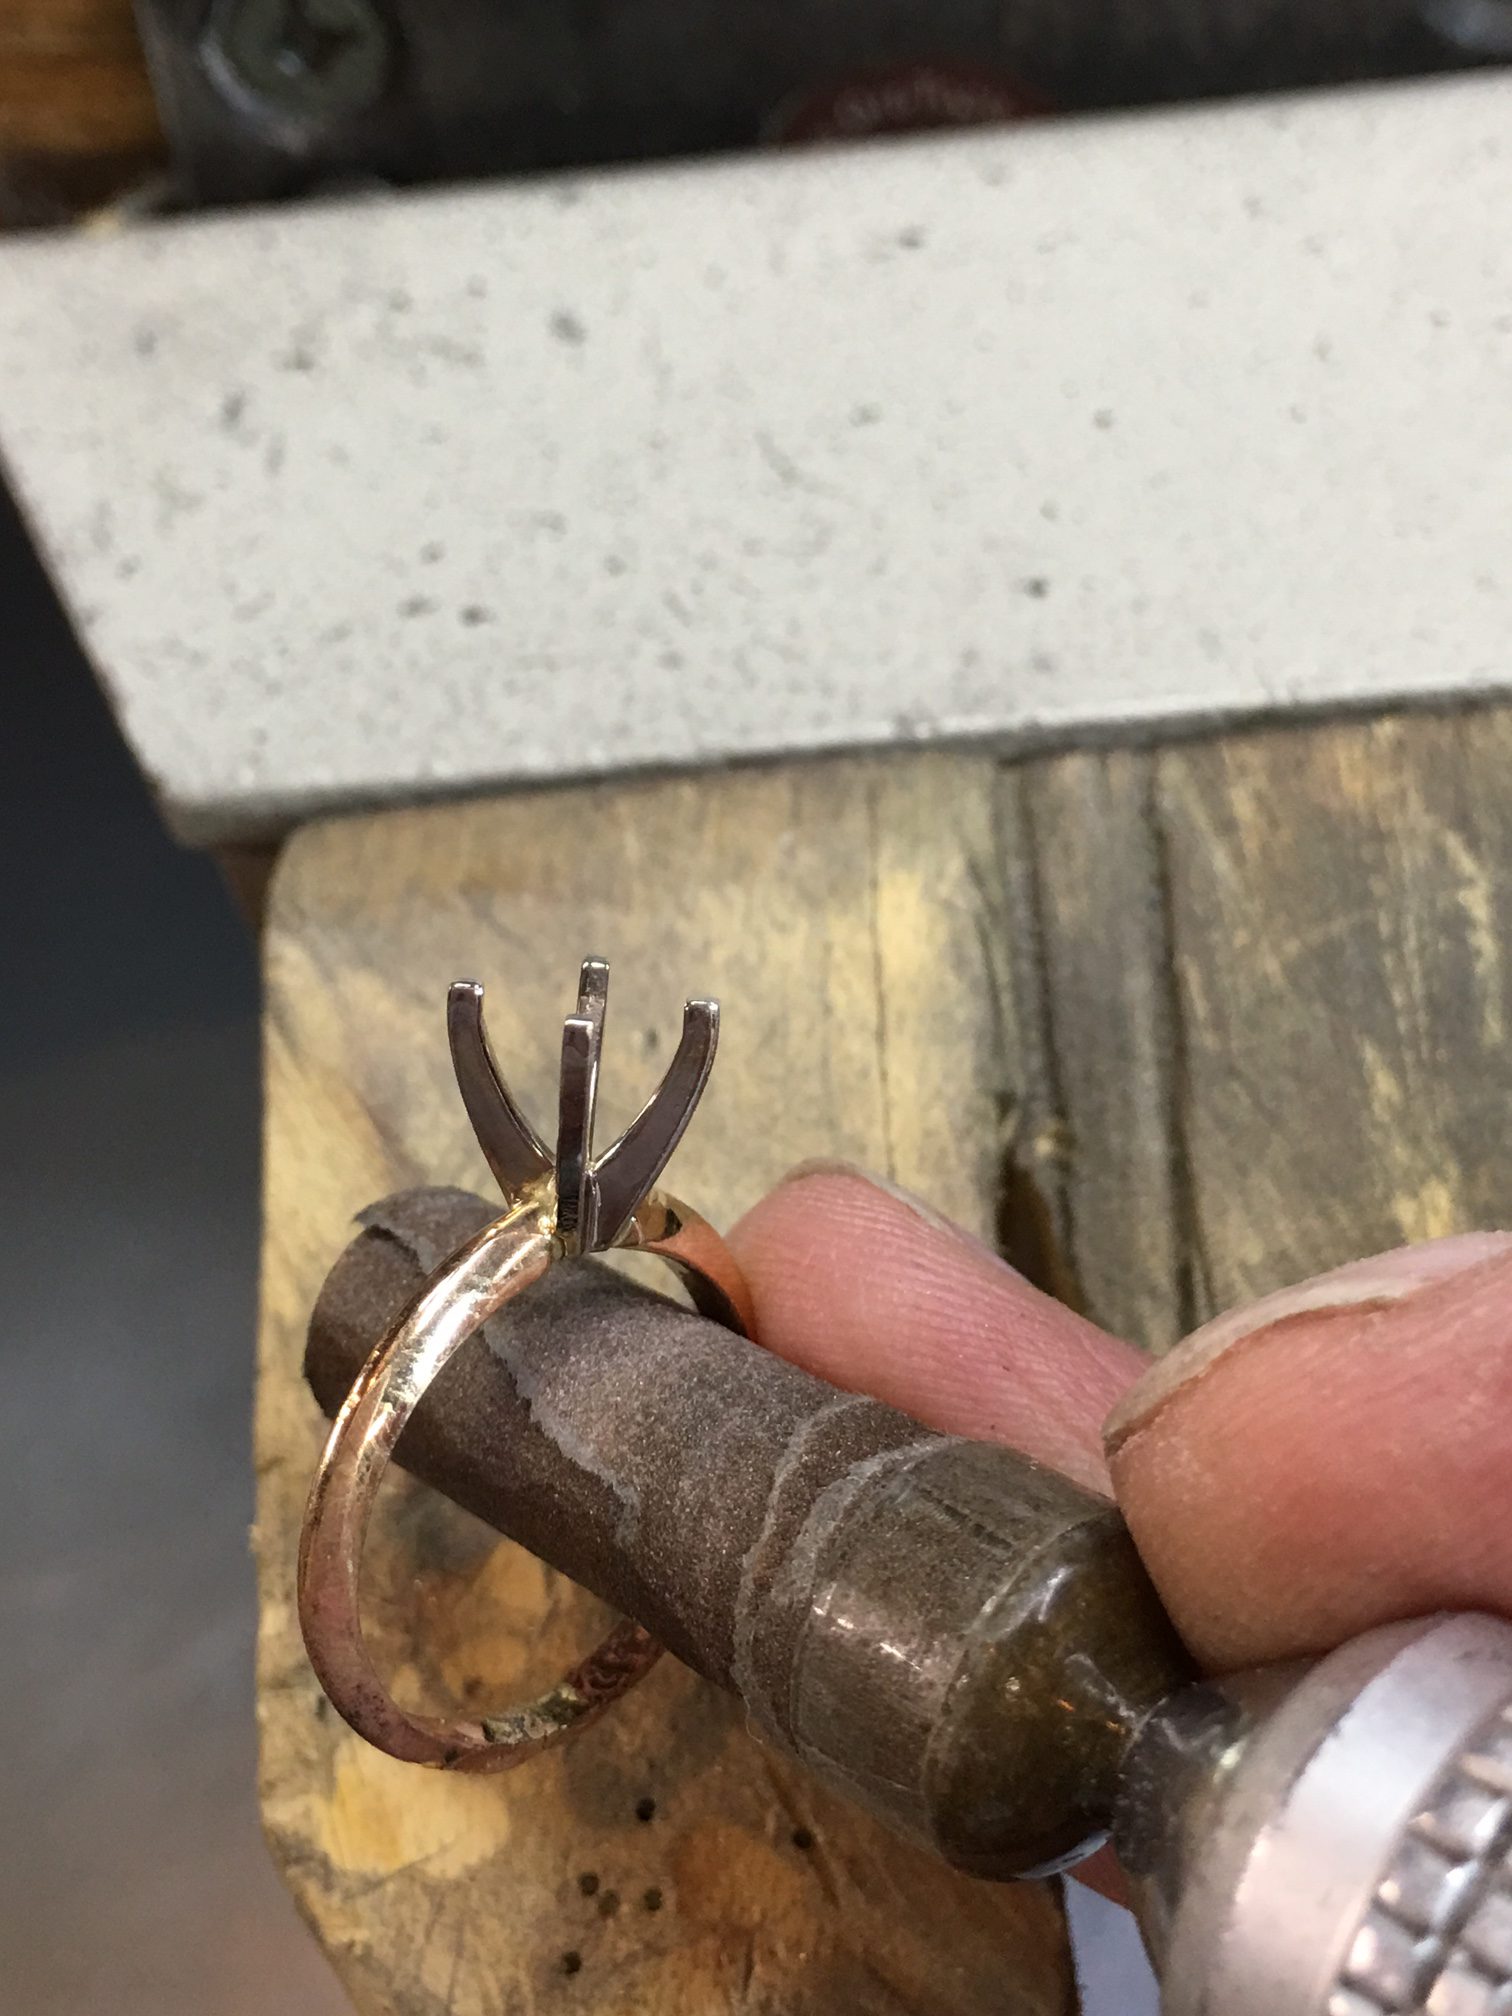
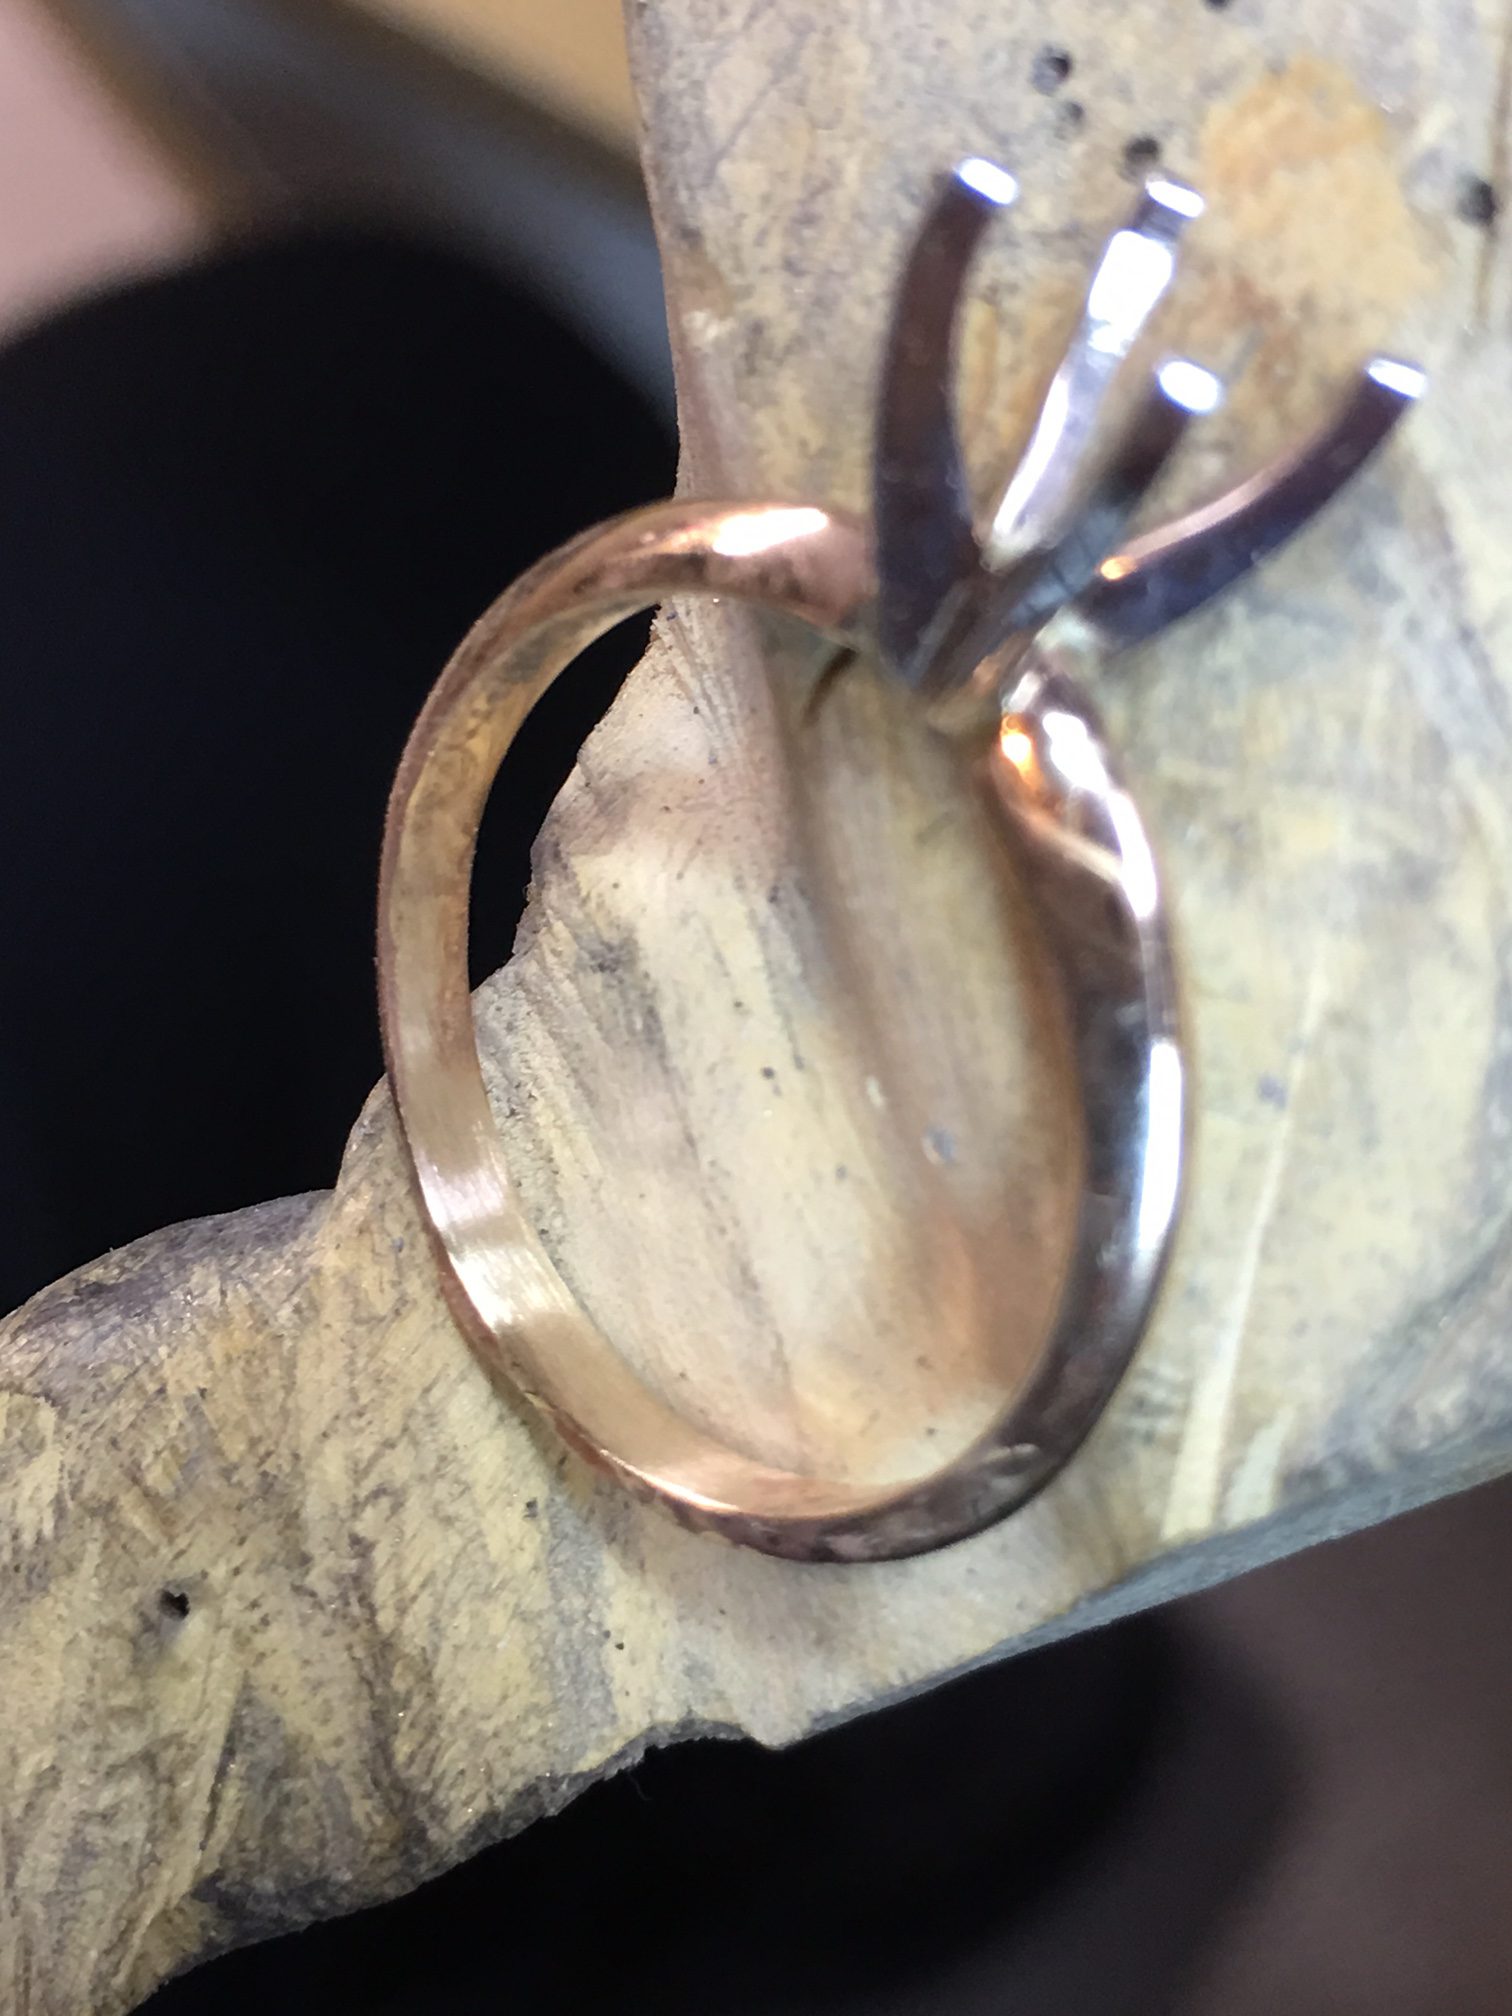
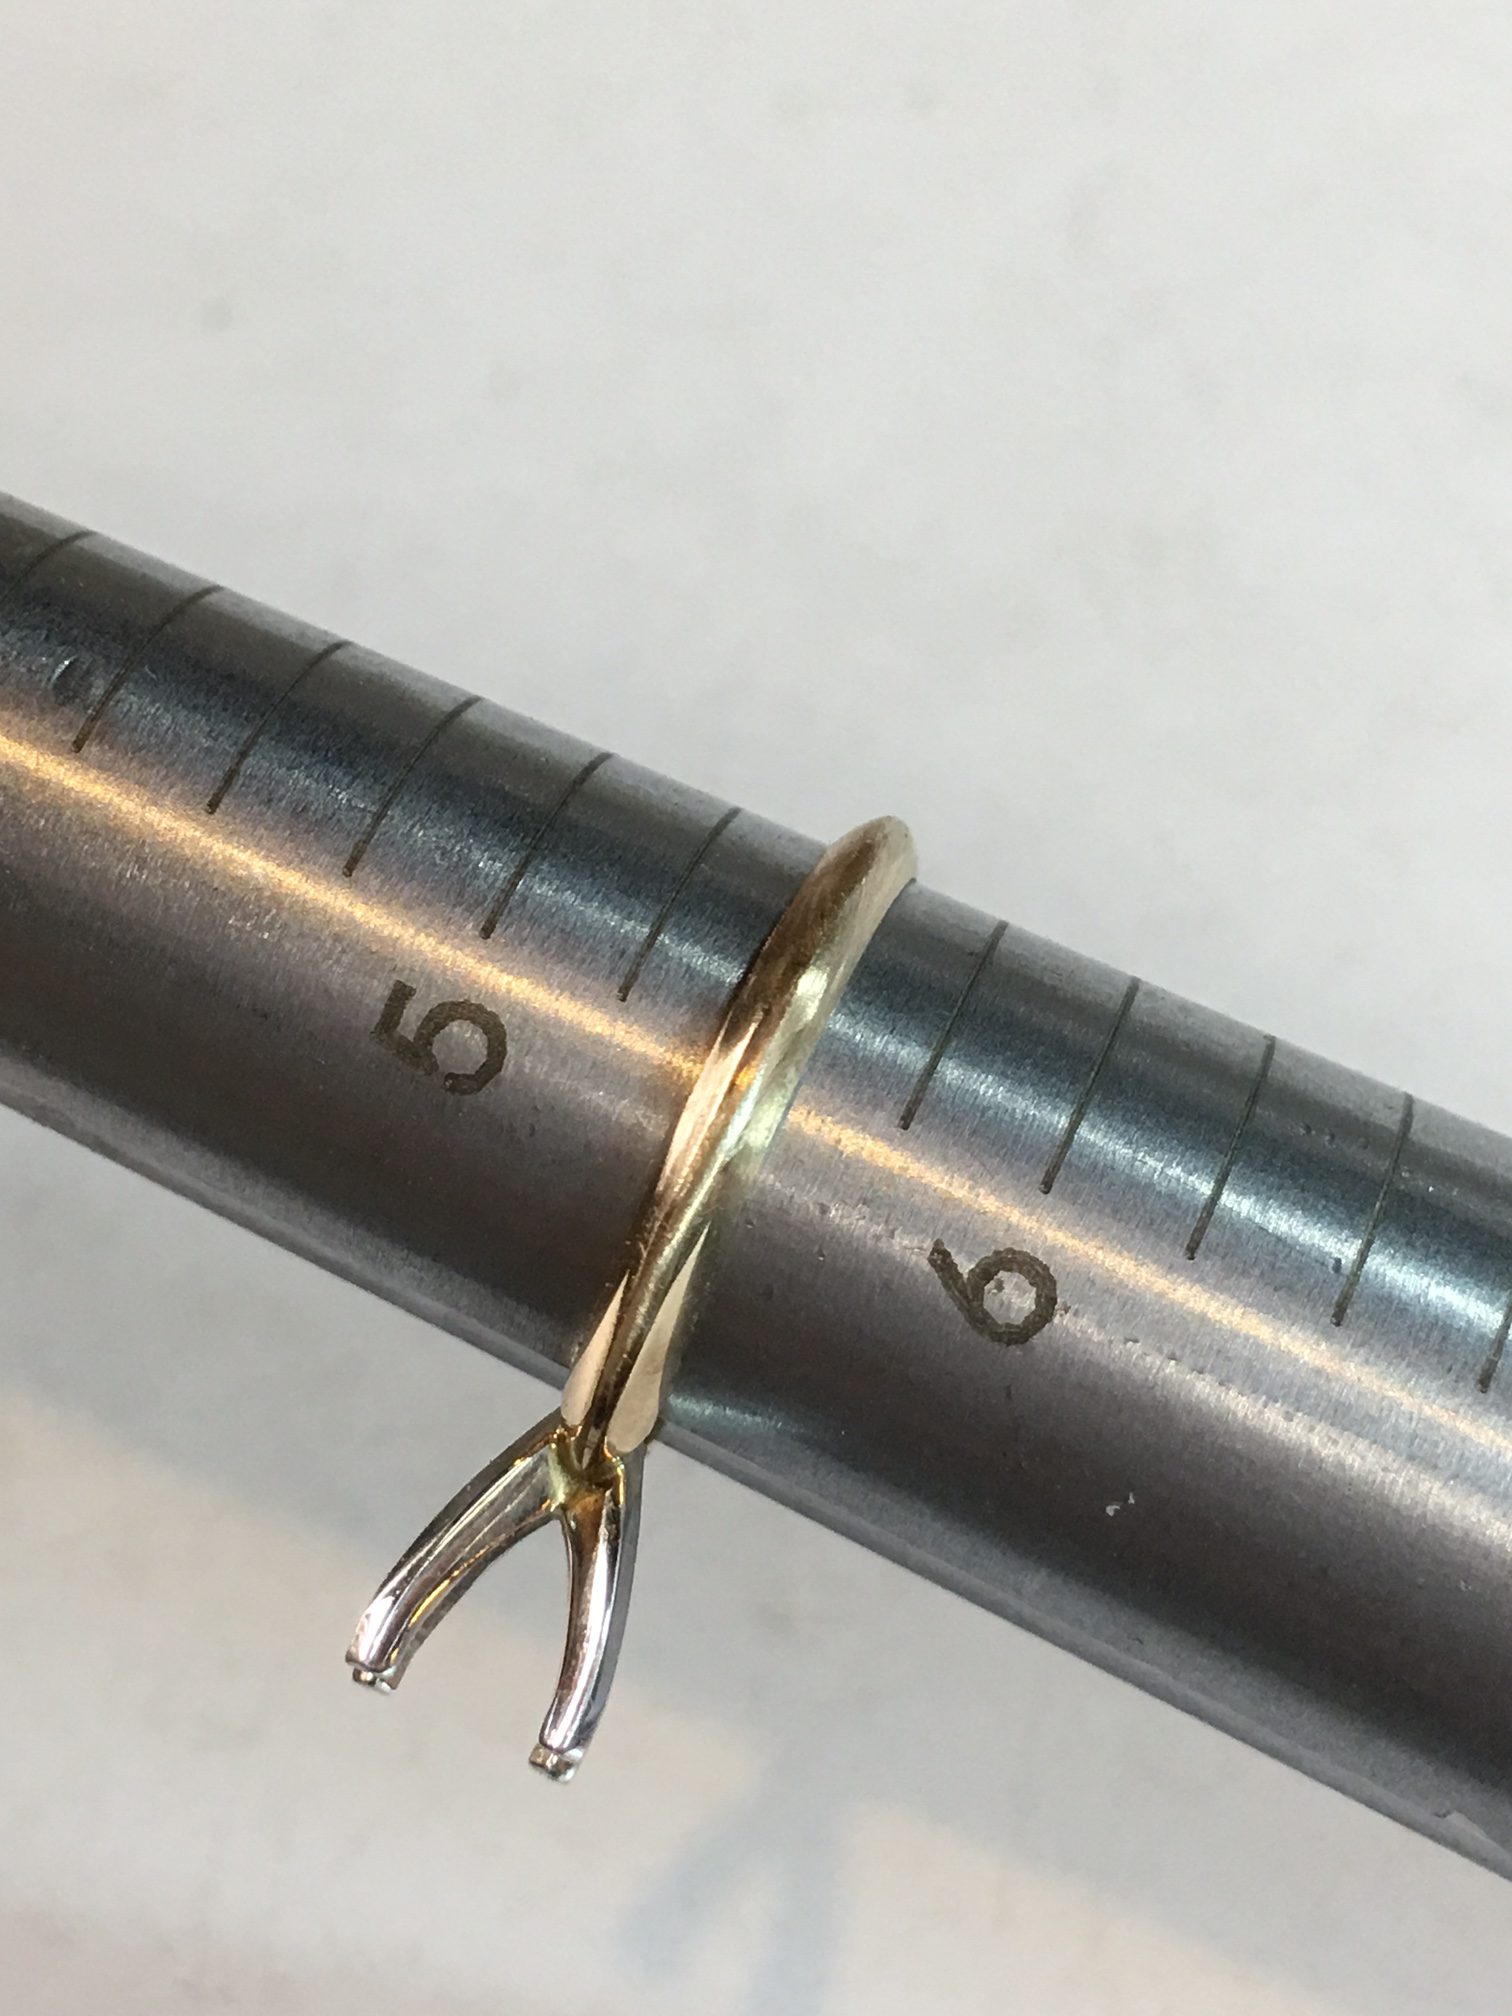
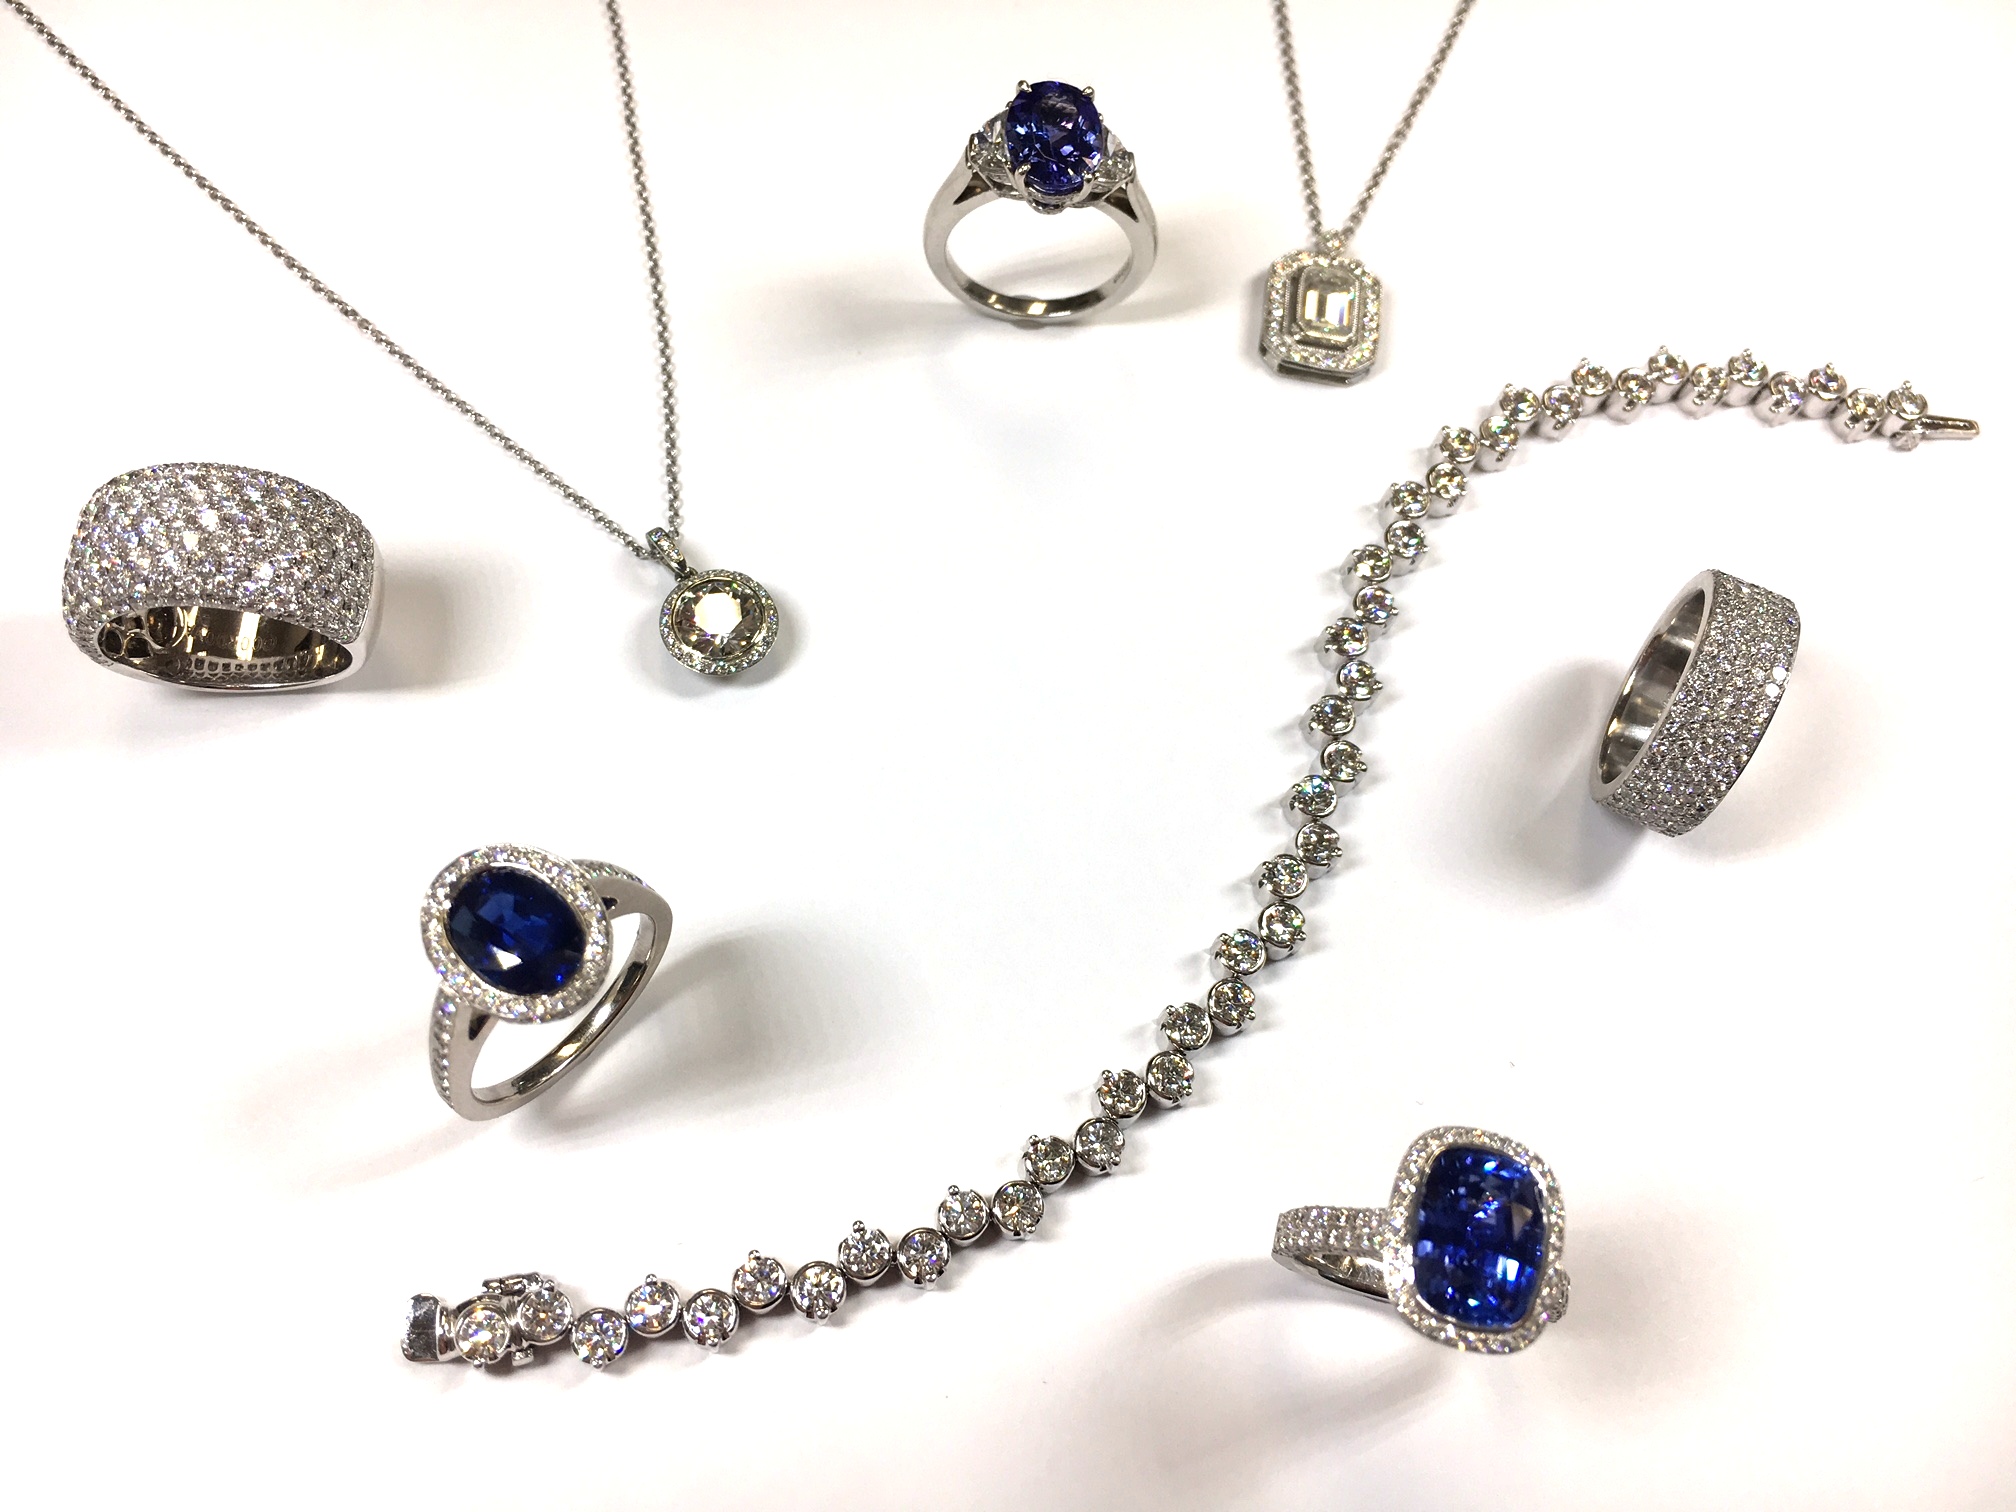
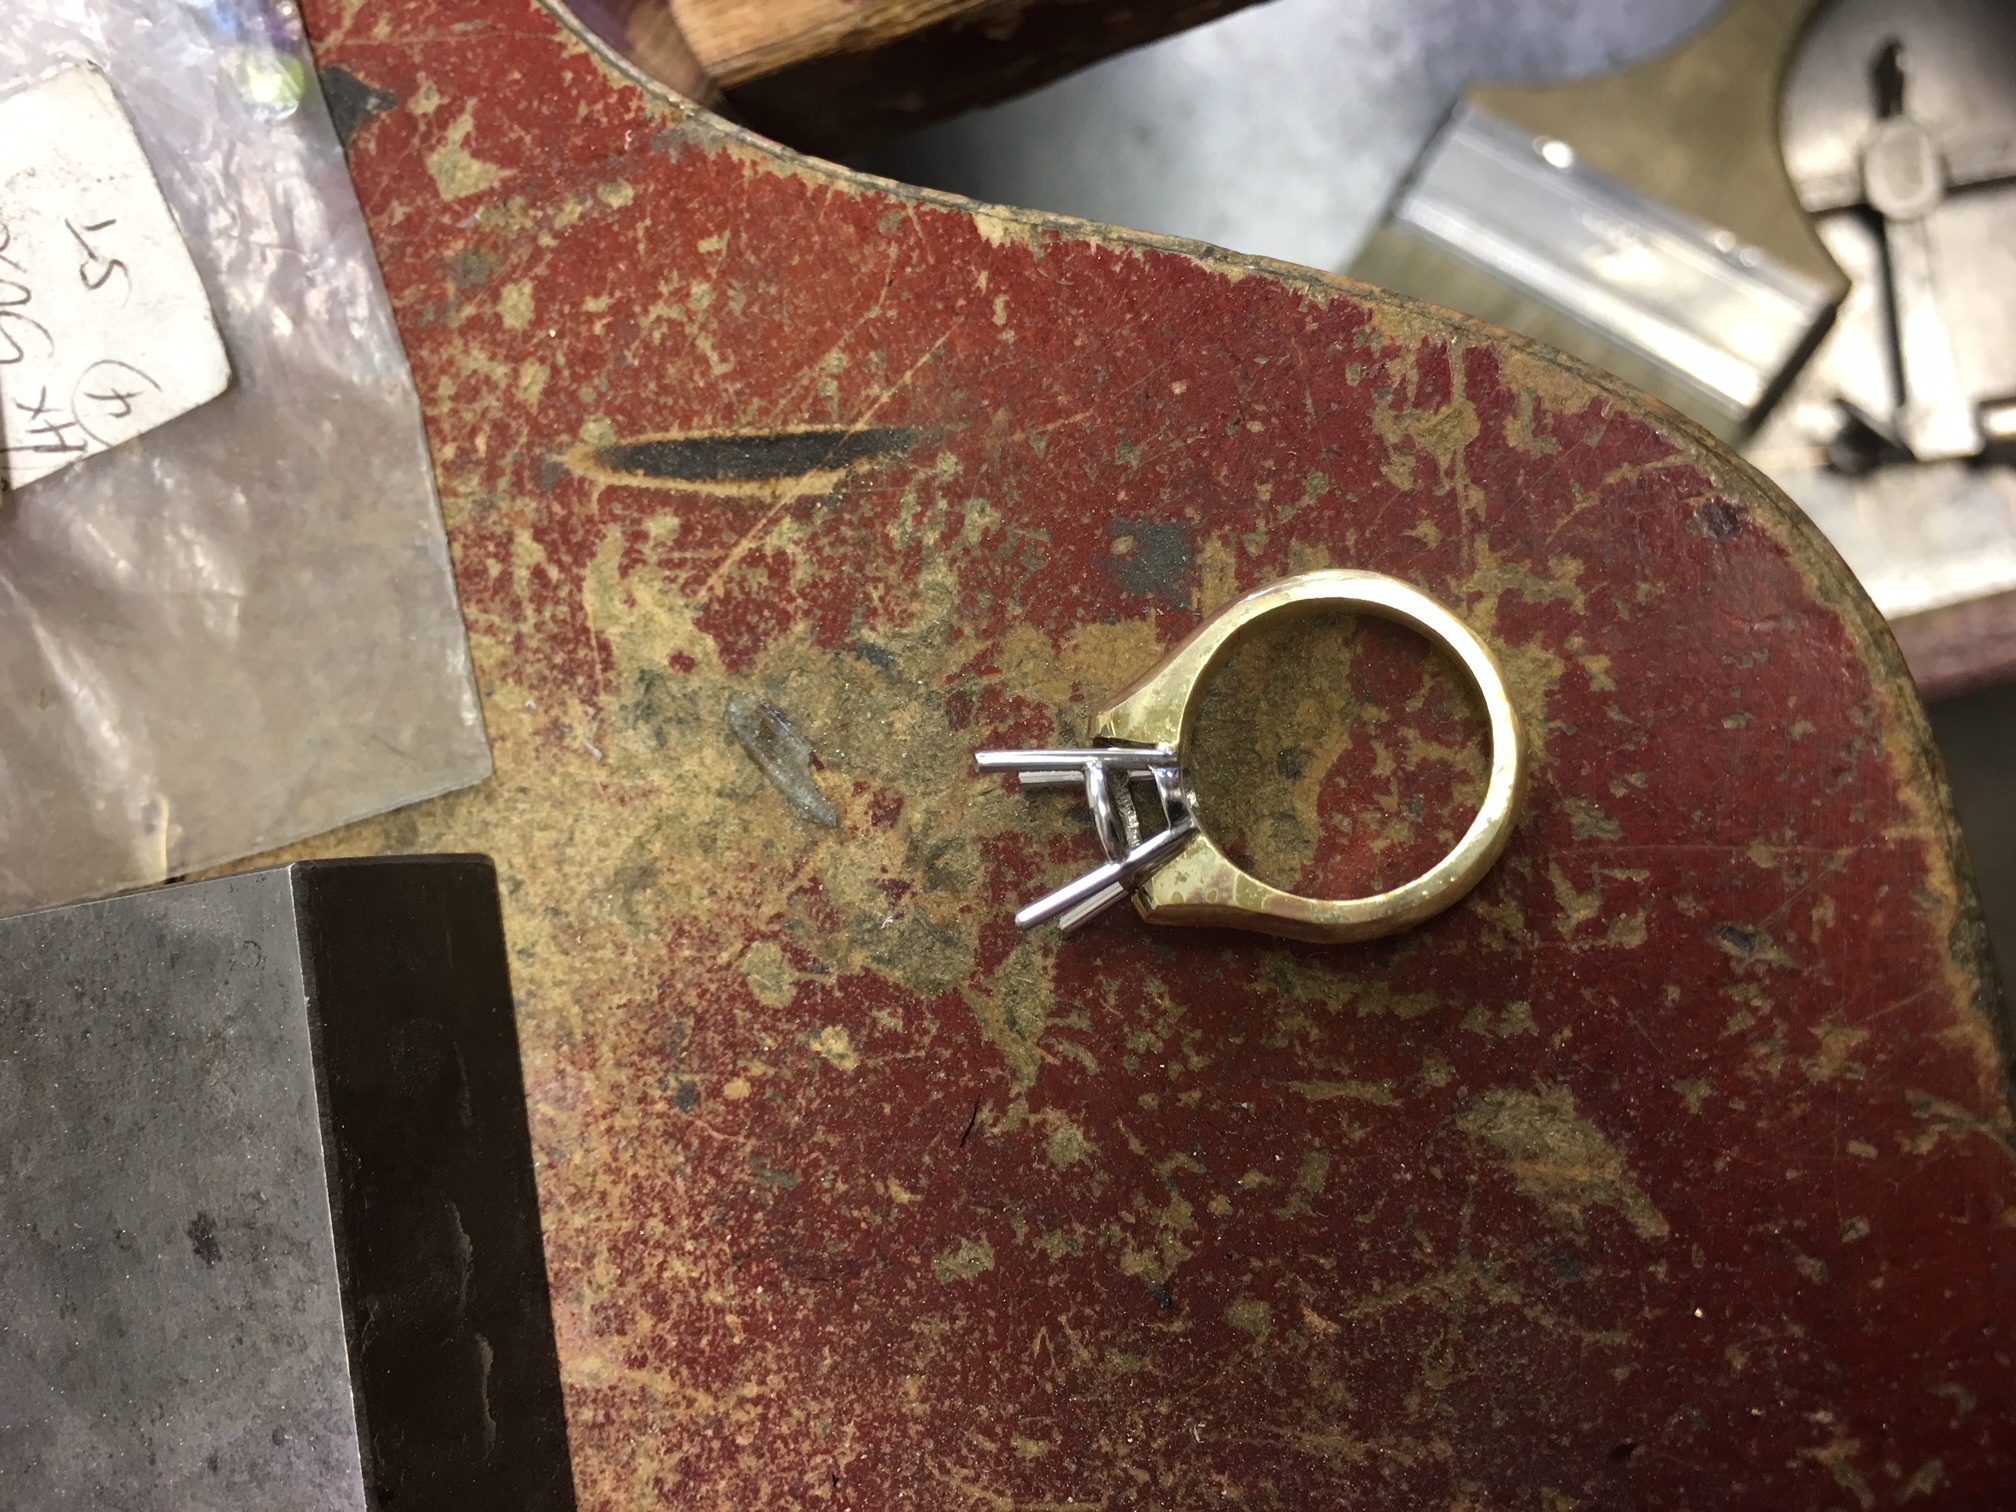
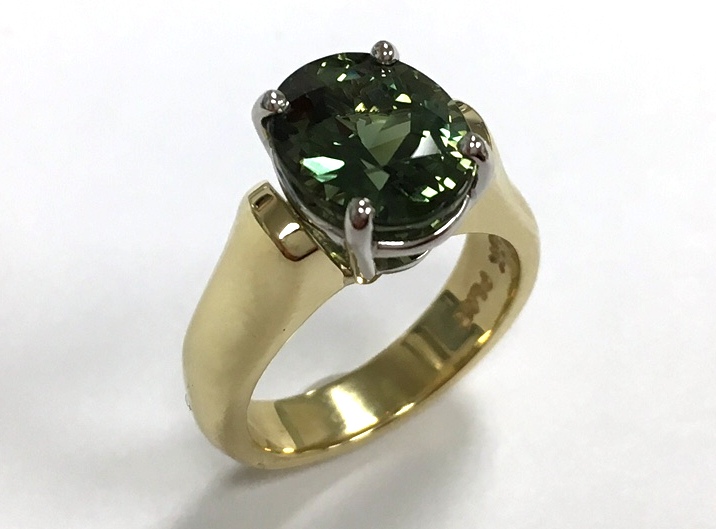
Once the waxes are done, we send them off to a casting company who does the final step of making them into a real ring– either platinum or gold. They then send us the rings back, and we put on the final touches- polishing, sizing, setting, and then the ring is good to go!


WATSON

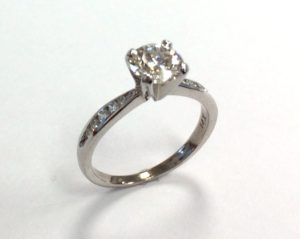
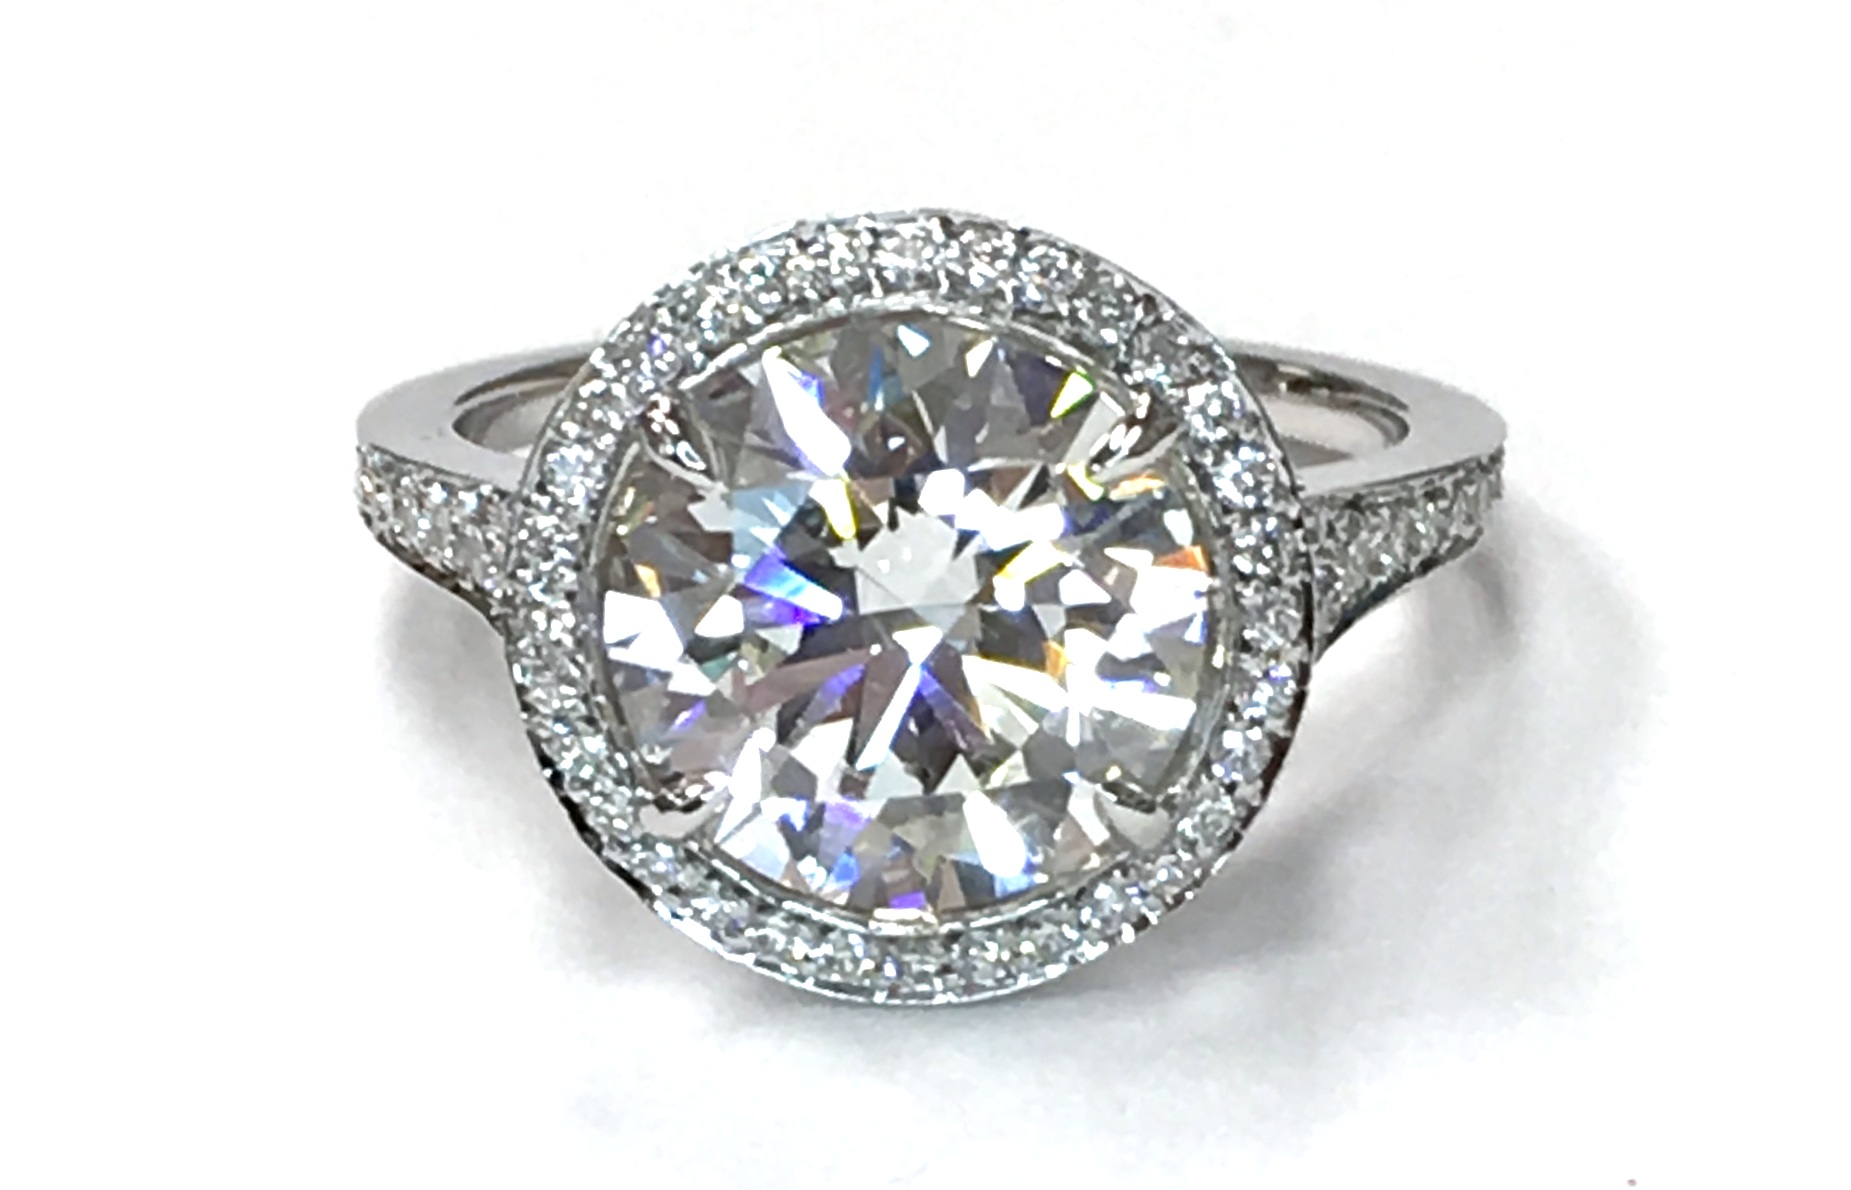
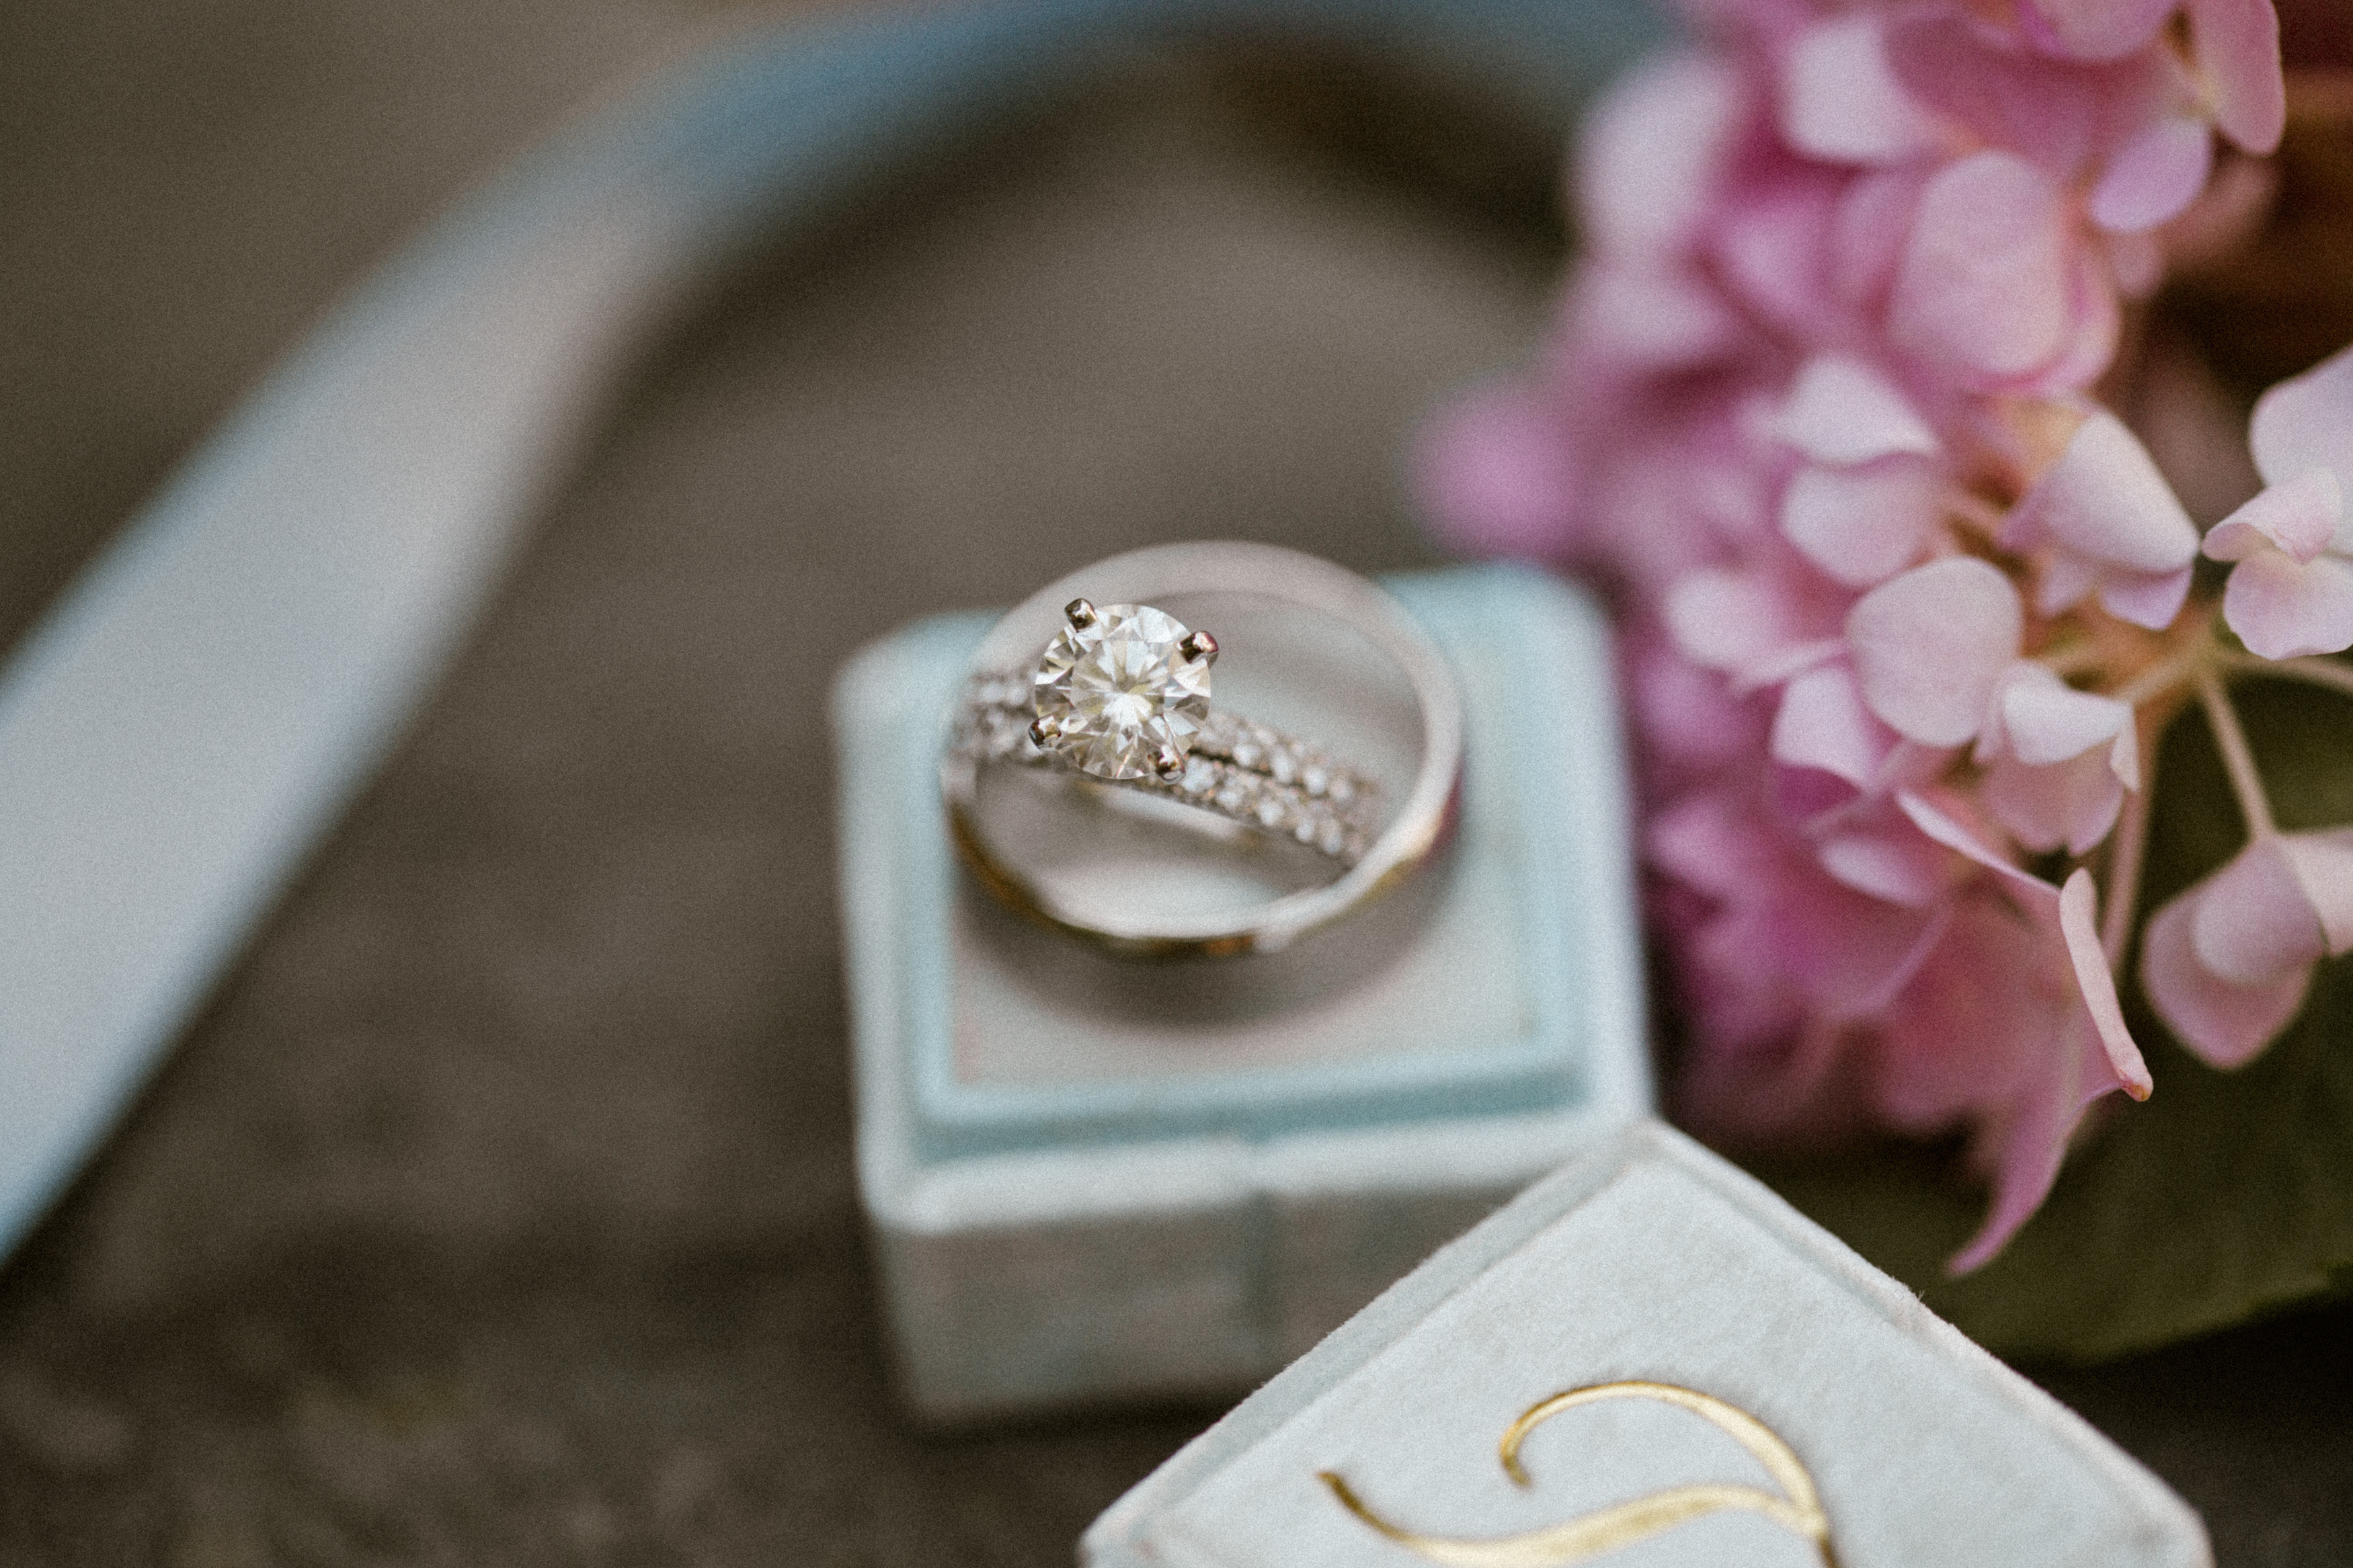
The finished product.


Dec 21, 2016

Take her breath away this Holiday season with these showstopper pieces from Protea Diamonds. Stunning diamond, sapphire, and tanzanite pieces as well as a variety of stud earrings and other jewelry await you in our Arlington showroom. These pieces are ready to go and will make for an unforgettable gift.

Stop by today!

blogpicdec

Nov 28, 2016

One of our customers asked us to find her a green gemstone that would be strong enough to withstand daily wear… but something a bit different than the traditional emerald. We found a beautiful, and unusually colored, olive green sapphire. We also made a custom 18 karat yellow gold ring to set it in.

img_6900

The gold shank and platinum head have been carved out, waiting to be put together.


img_6902

Closer up.


img_6901

The shank and basket have been welded together, ready to be polished up and set with the green sapphire.


ruggiero

Final stage- the green sapphire has been set, and the ring polished!


Oct 17, 2016

Here’s a short video of some engraving we did in the clasp of a pearl bracelet. The customer wanted her first initial engraved on the clasp.

The clasp is set in shellac to hold it in place while we engrave it.

Engraving Initials on a Pearl Bracelet from Protea Diamonds on Vimeo.

Before & after pics:

img_4904

Before: mounted on shellac and ready to engrave.


After!

After!


Sep 2, 2016

Check out our recent write-up on ARLnow.com, a local Arlington news site! Click below to be taken to the article.

ARLnow