Have you ever wondered what the process is for adding those sizing balls that help your ring fit just right? Sizing balls are little balls of metal that are soldered to the inside of a ring to adjust the size and keep the ring from spinning around. We snapped some pics during our latest sizing ball repair so that you could see how it’s done!
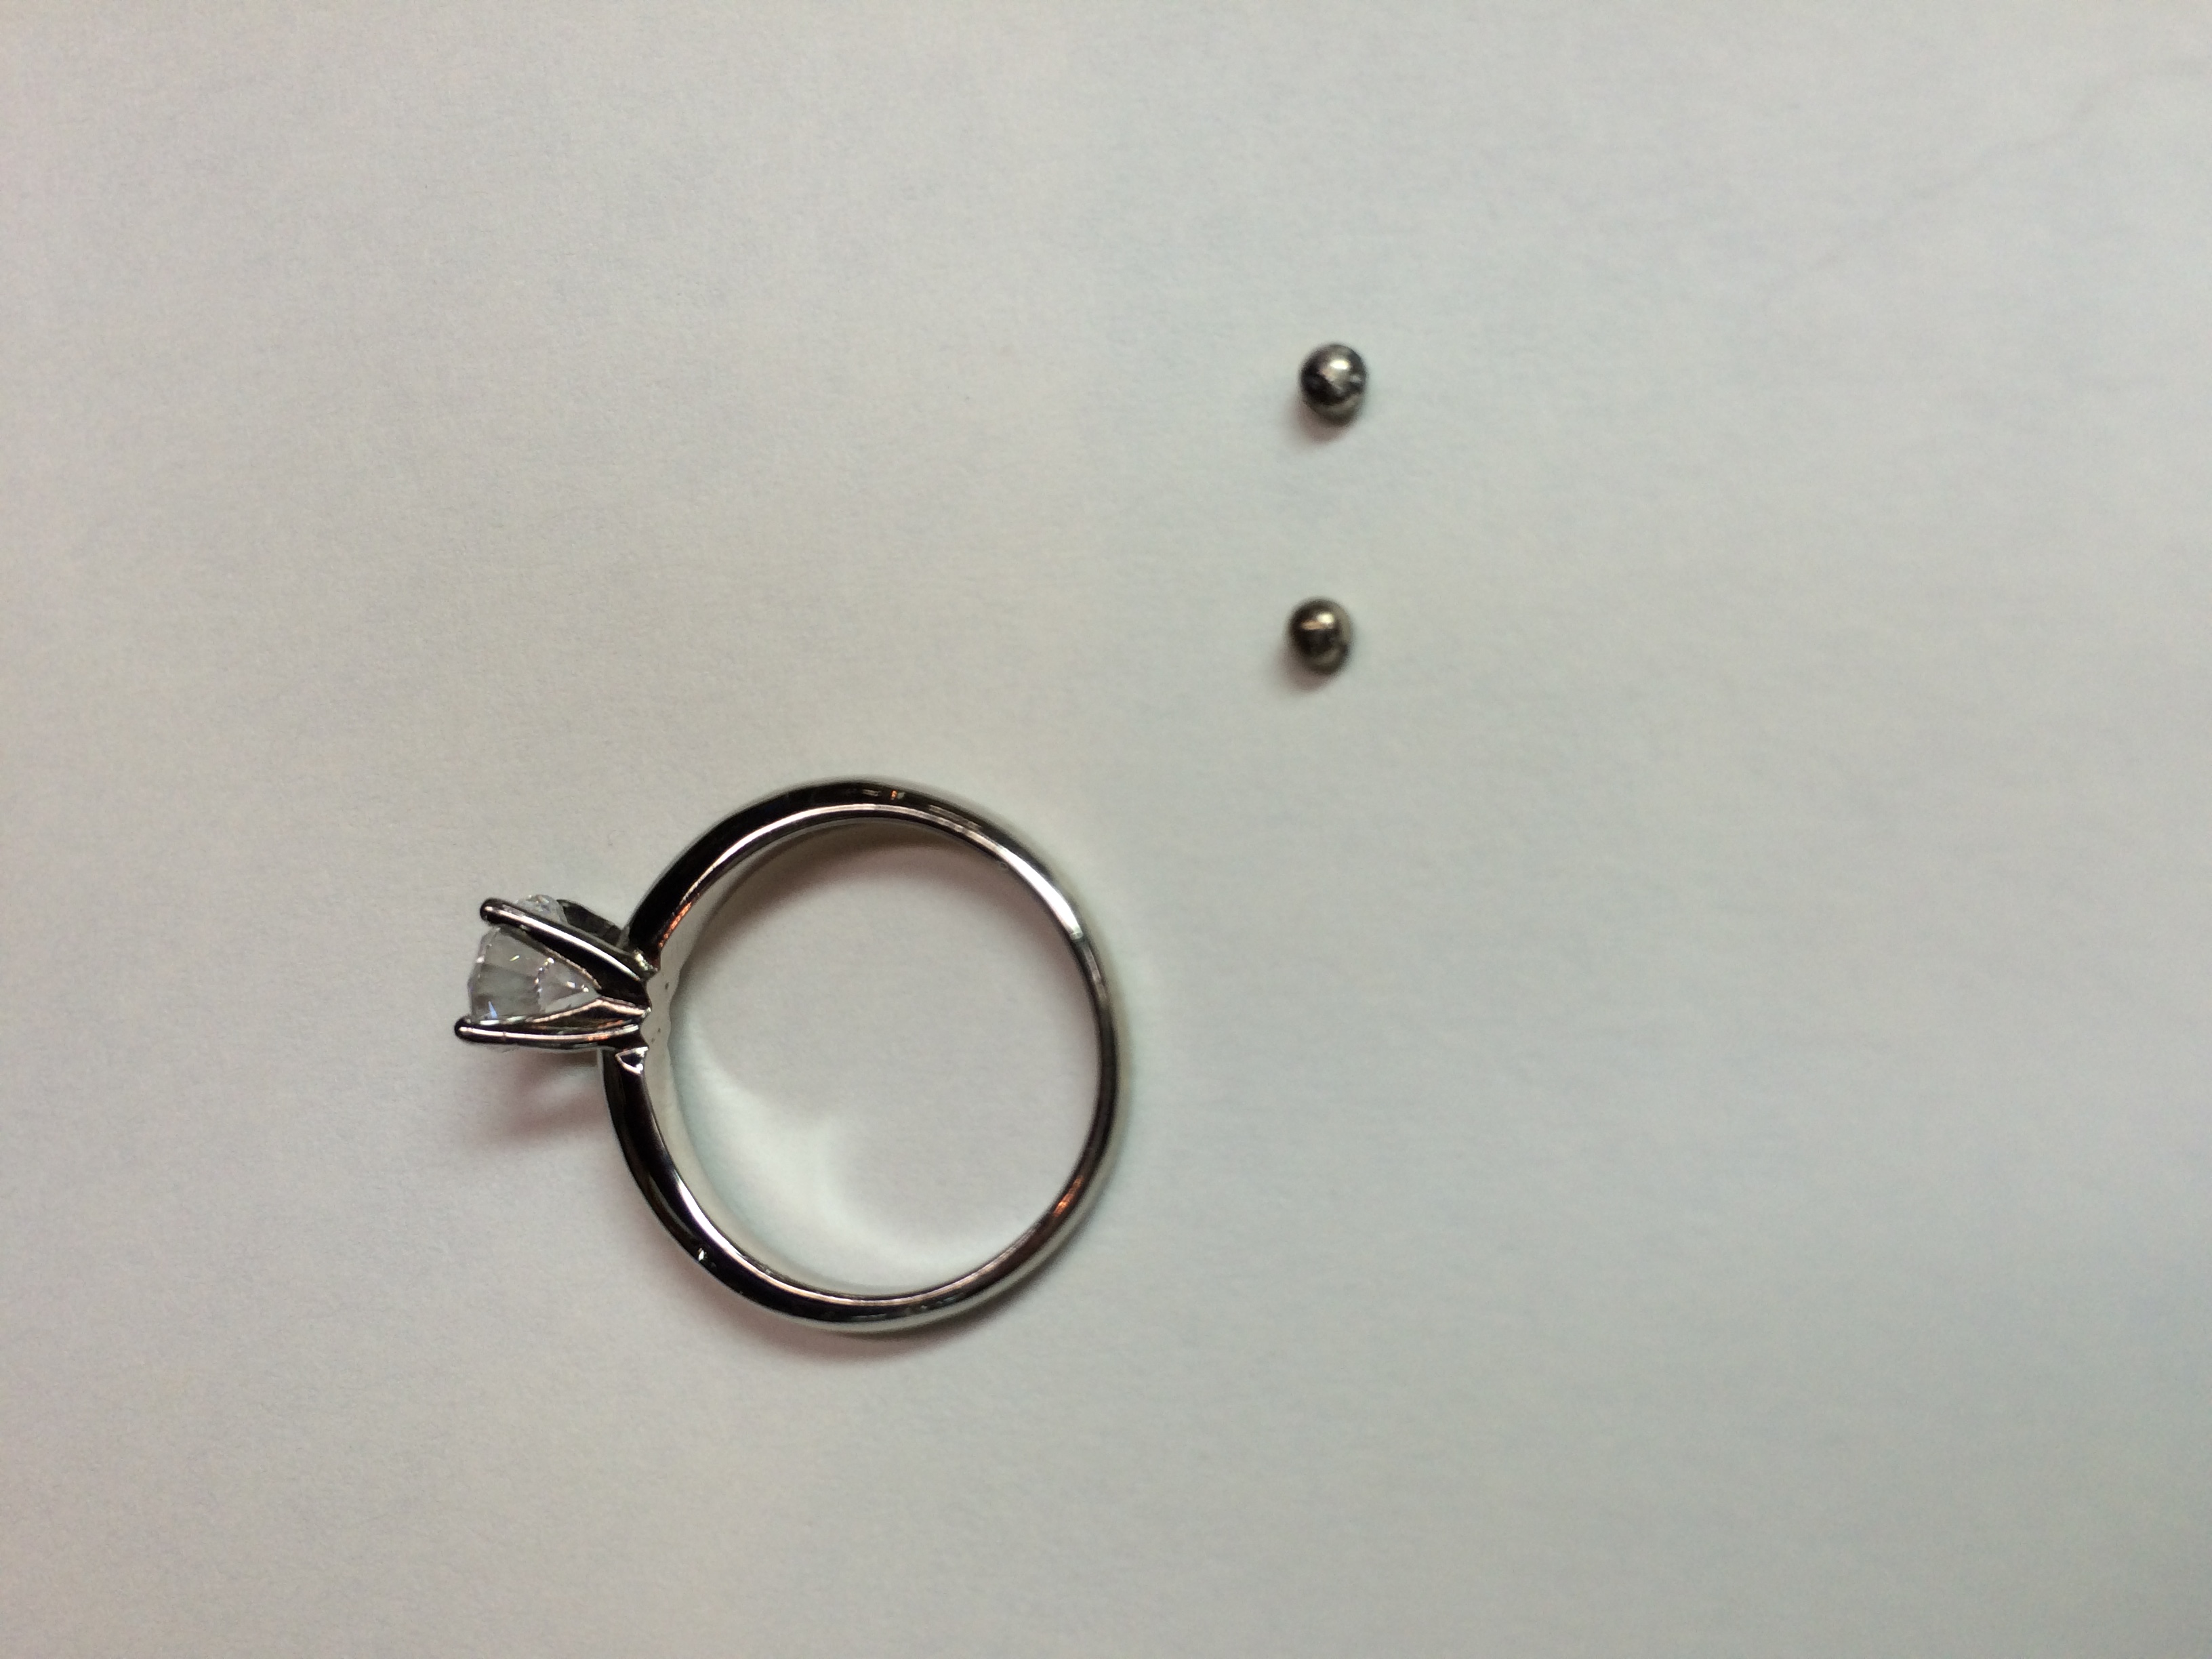
We are adding sizing balls to this classic solitaire setting.
We make two markings on the inside of the ring where the sizing balls will be soldered.

Underneath the sizing balls are small strips of solder that will be heated in order to attach the balls to the ring.

Using a drill bit, we make a small indentation where the solder and sizing ball will go.

The strips of solder are heated, and they form into tiny balls.

Using a pick, we place the ball of solder into the indentation we made with the drill bit.

We add some flux so that the solder will flow into place.

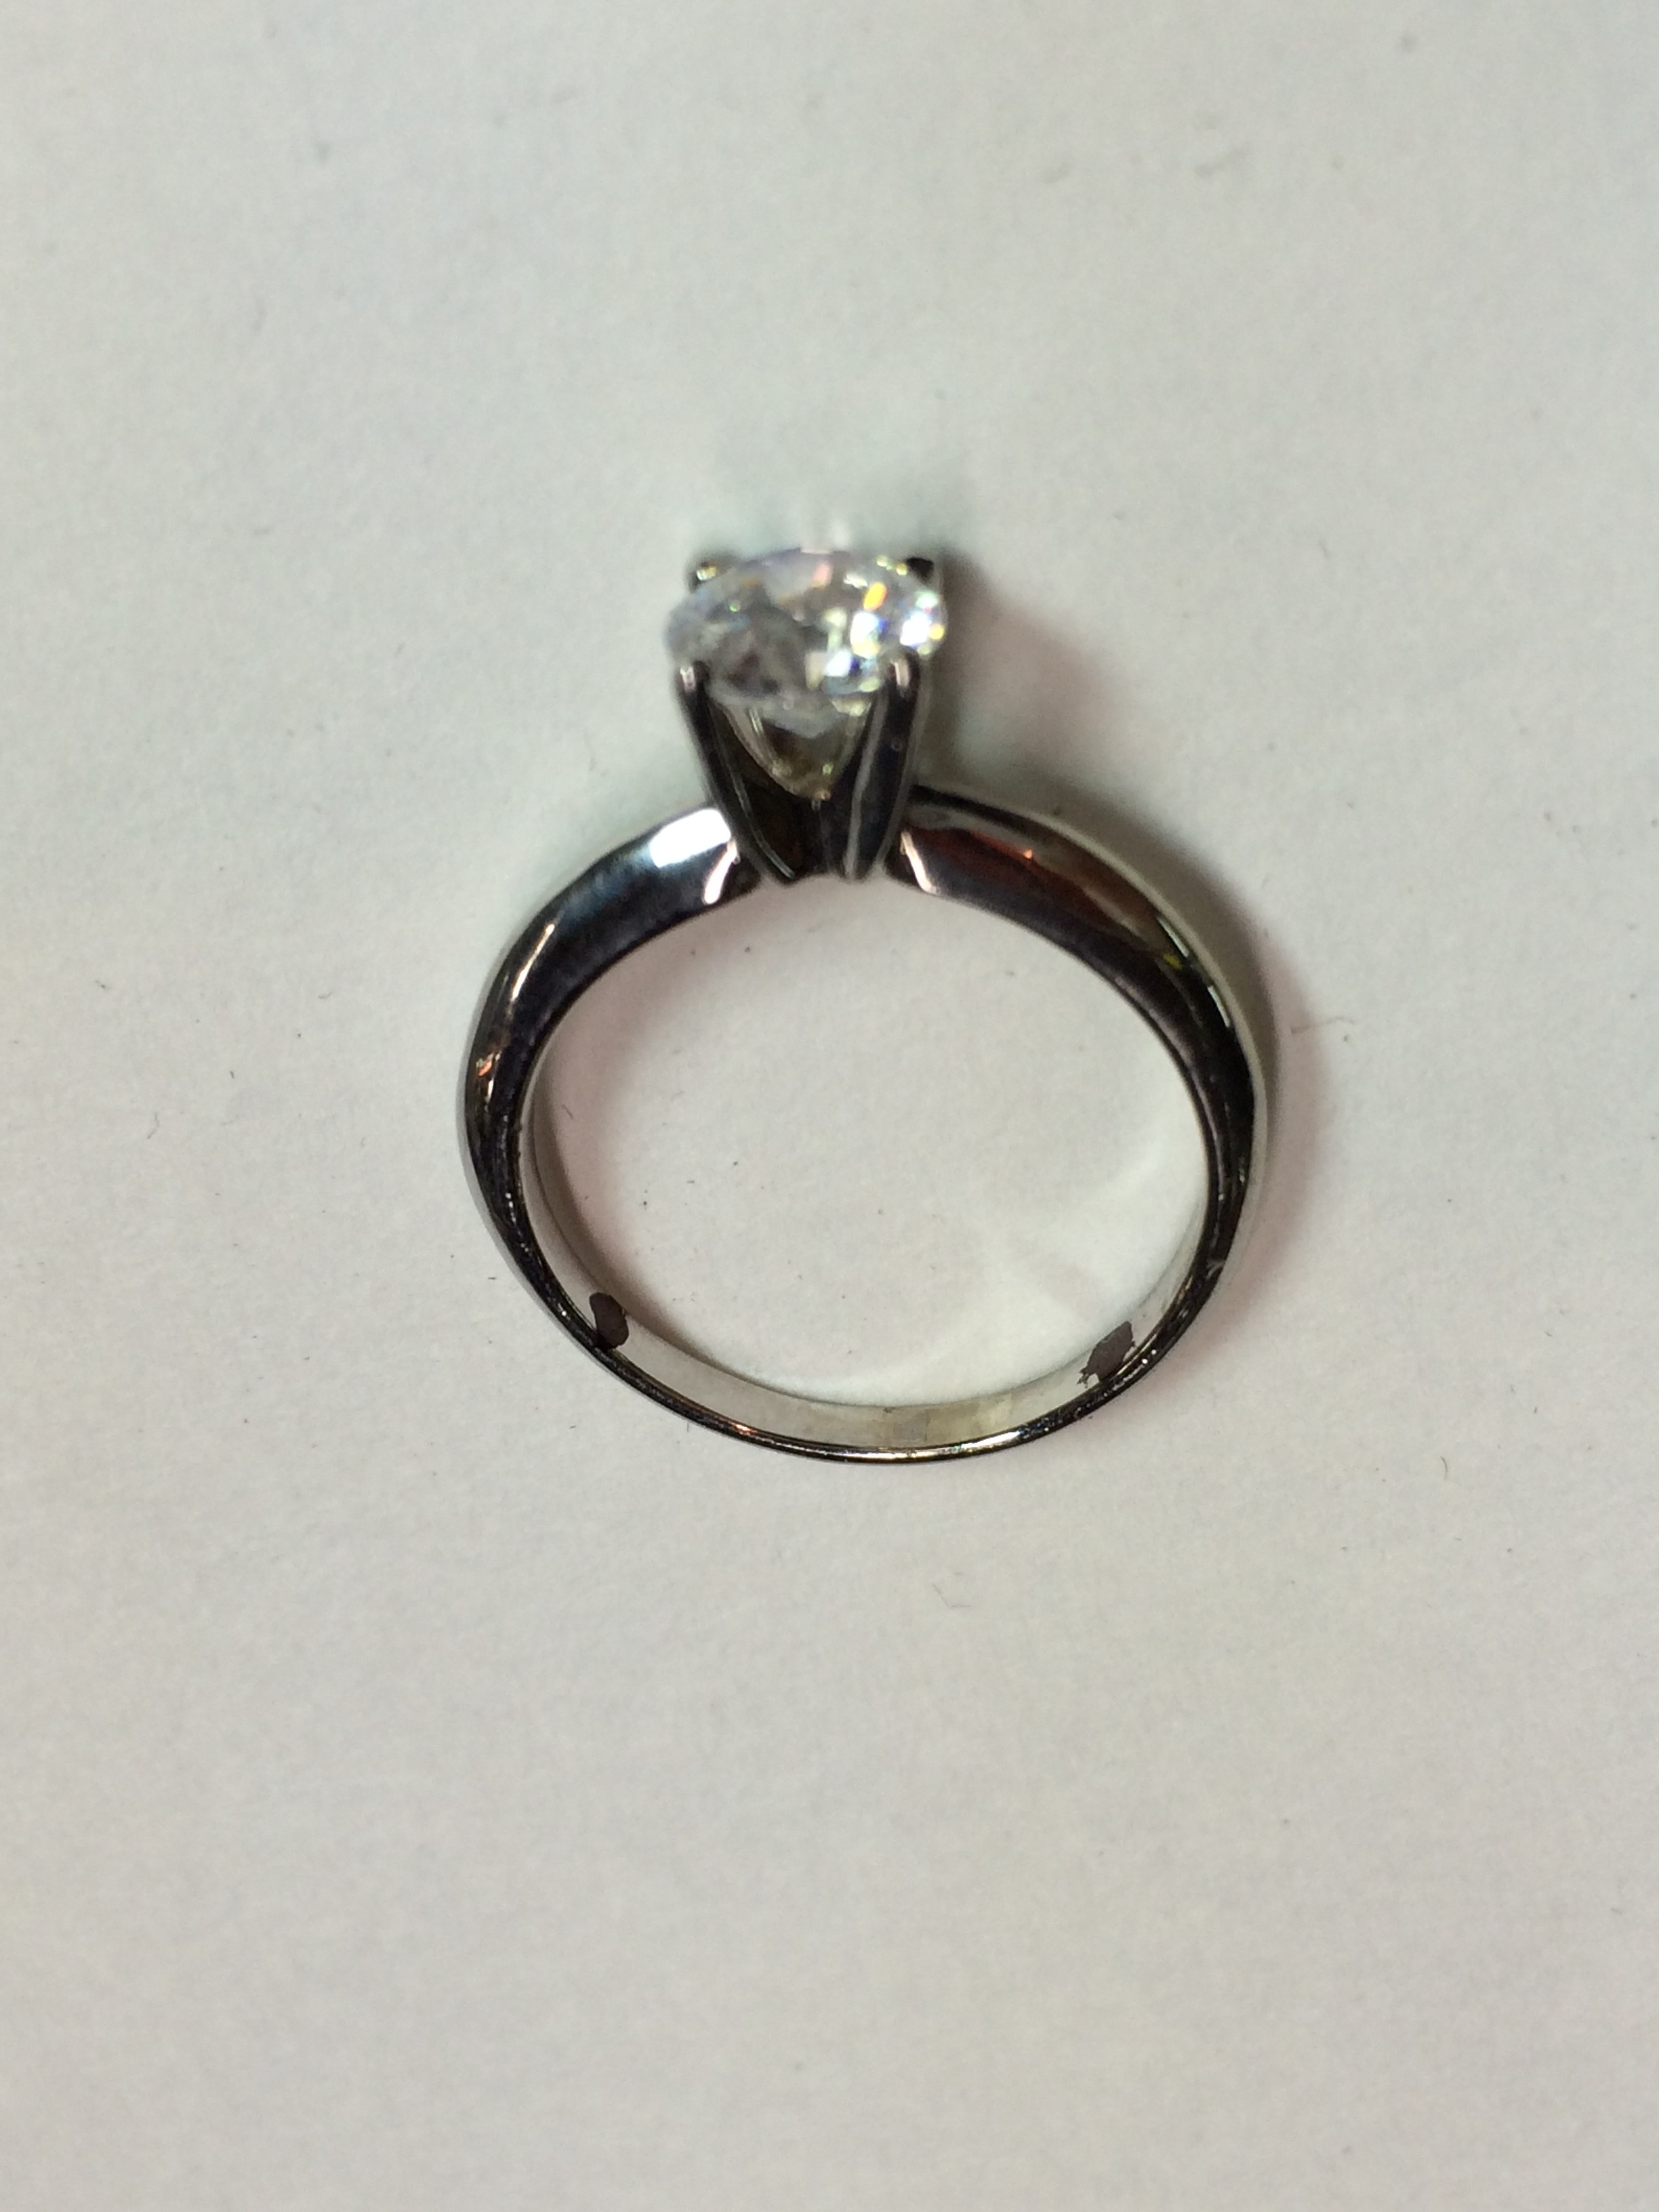
Once the solder is placed, we set the sizing ball on top of it.

The sizing balls have been placed, but the ring is a bit blackened from the heat. The next step is to clean this off.
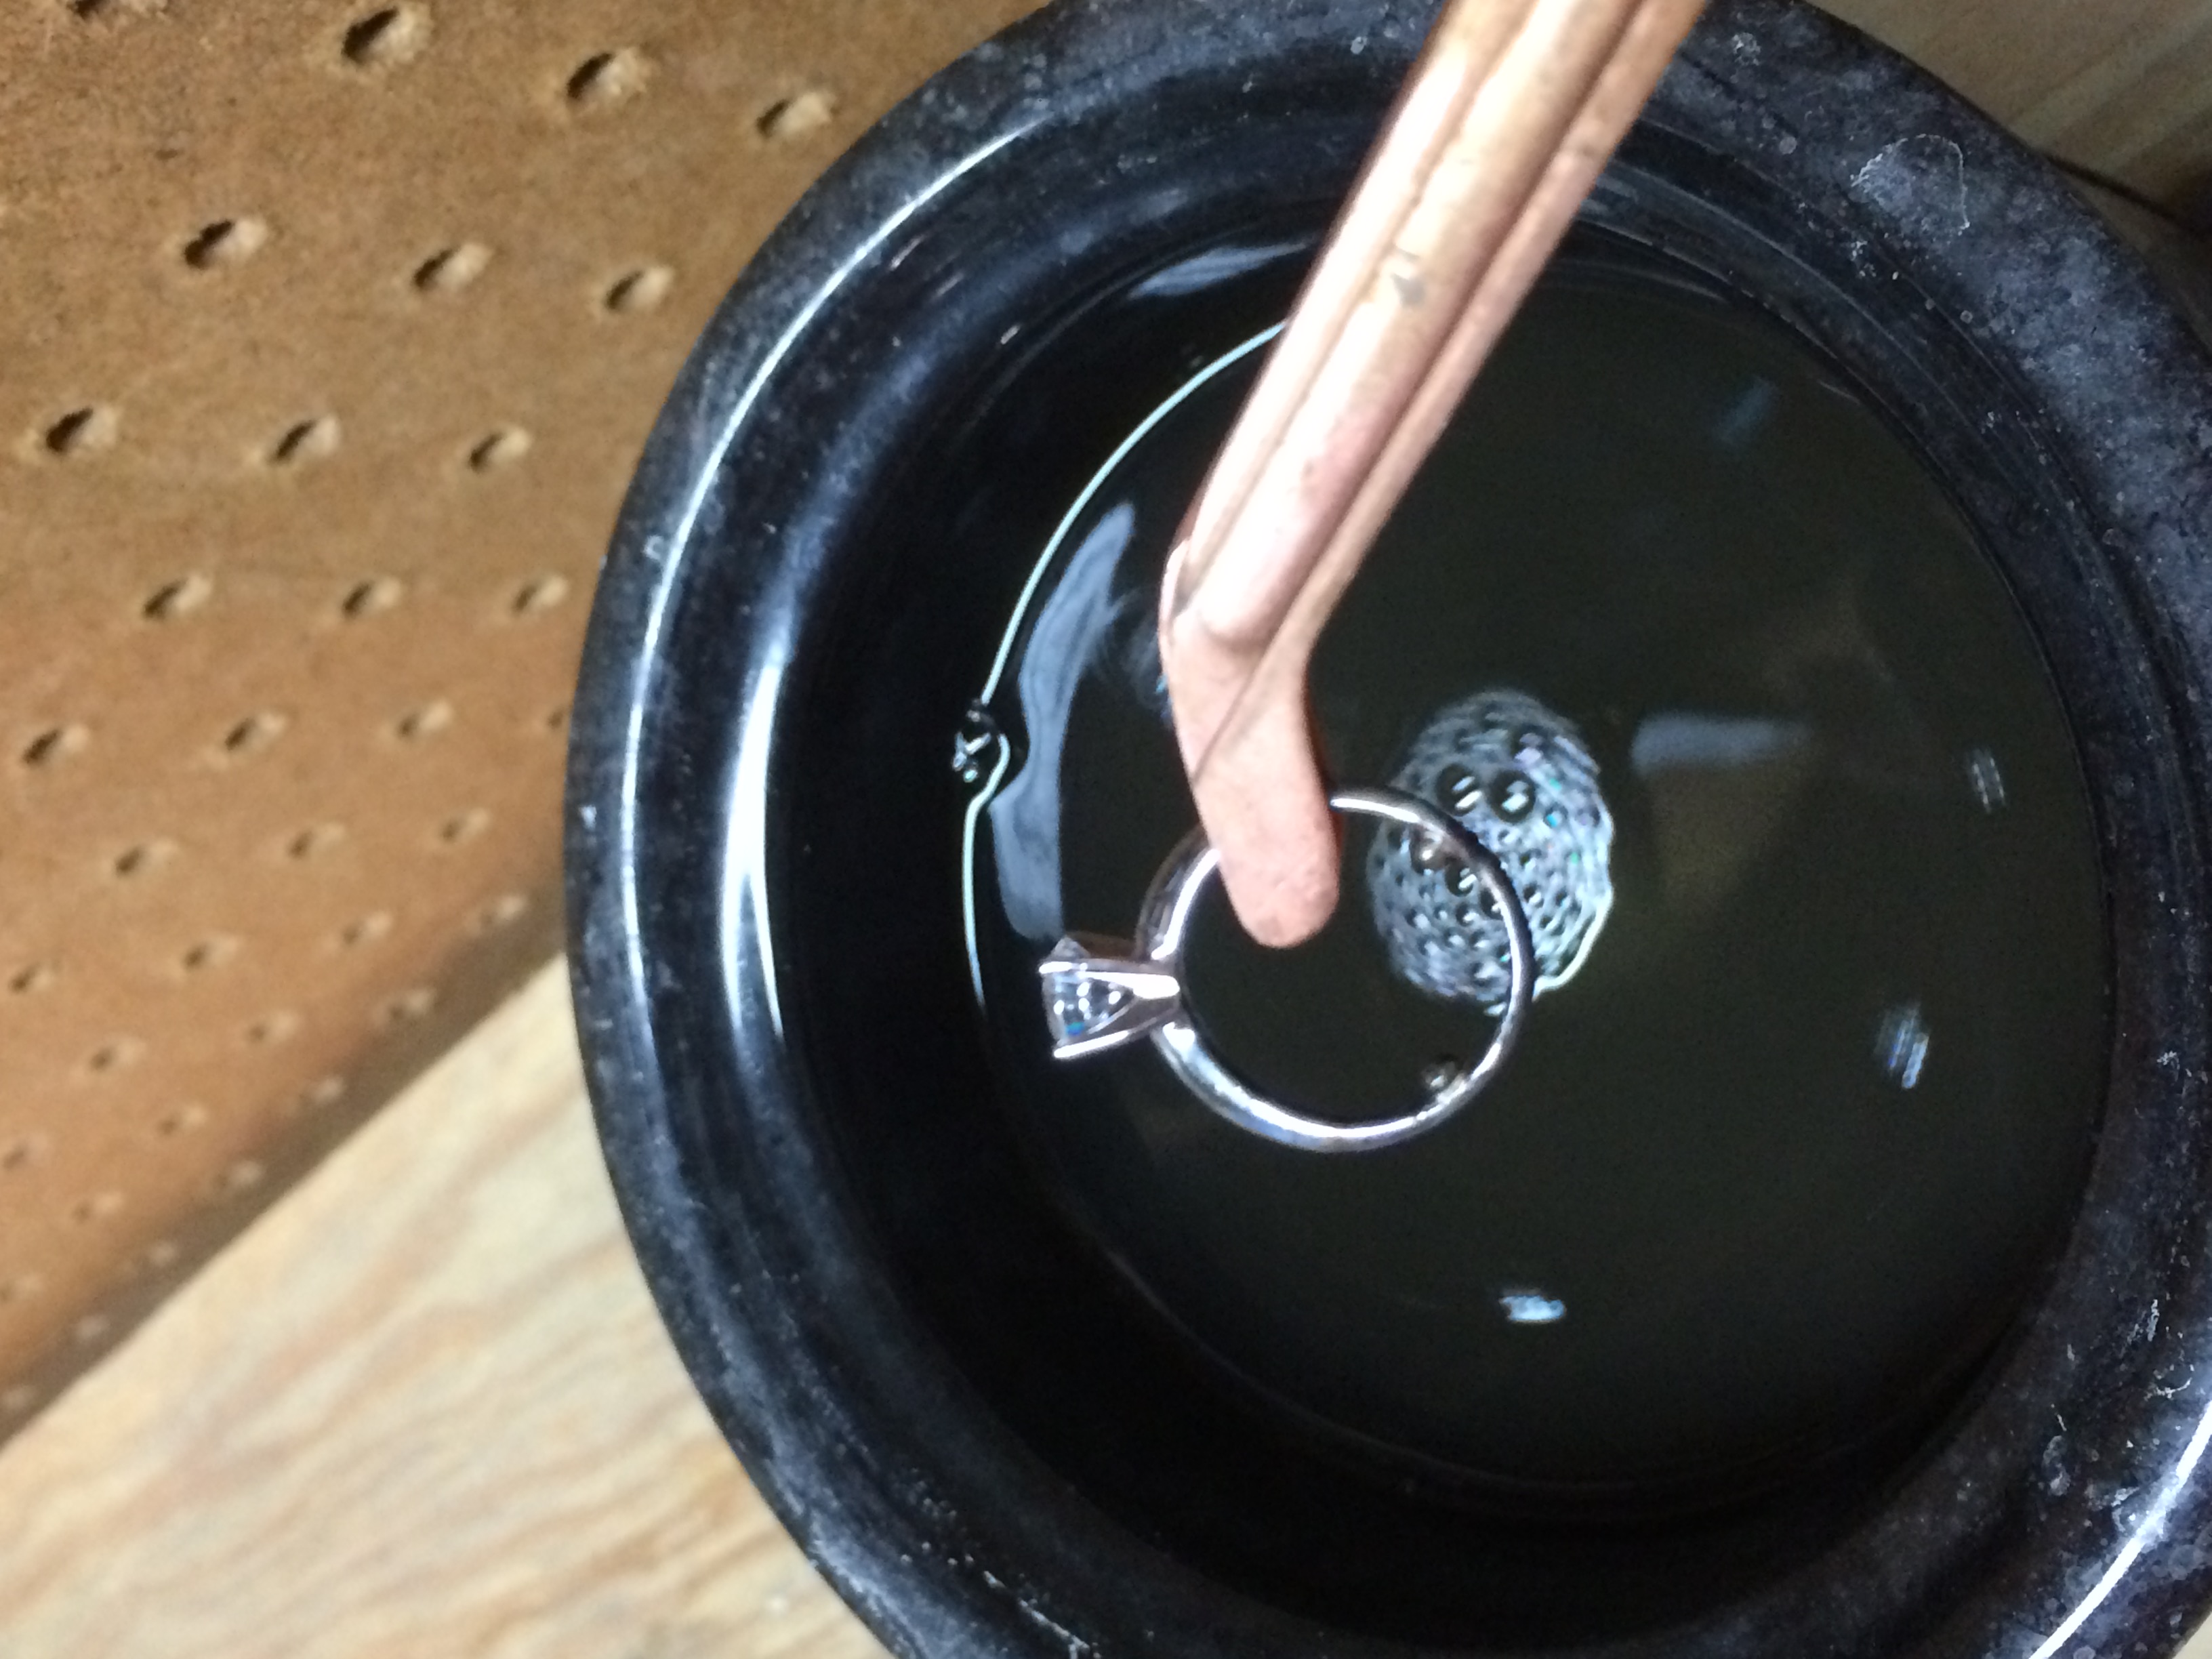
Using copper tongs to prevent contamination, the ring is dipped in an acid pickle bath to remove the black firescale.

Once the firescale has been removed, the ring is almost done. This ring is white gold, so it will need to be plated with rhodium to give it that bright white finish. Prior to doing this, we make sure to polish out any scratches on the surface.
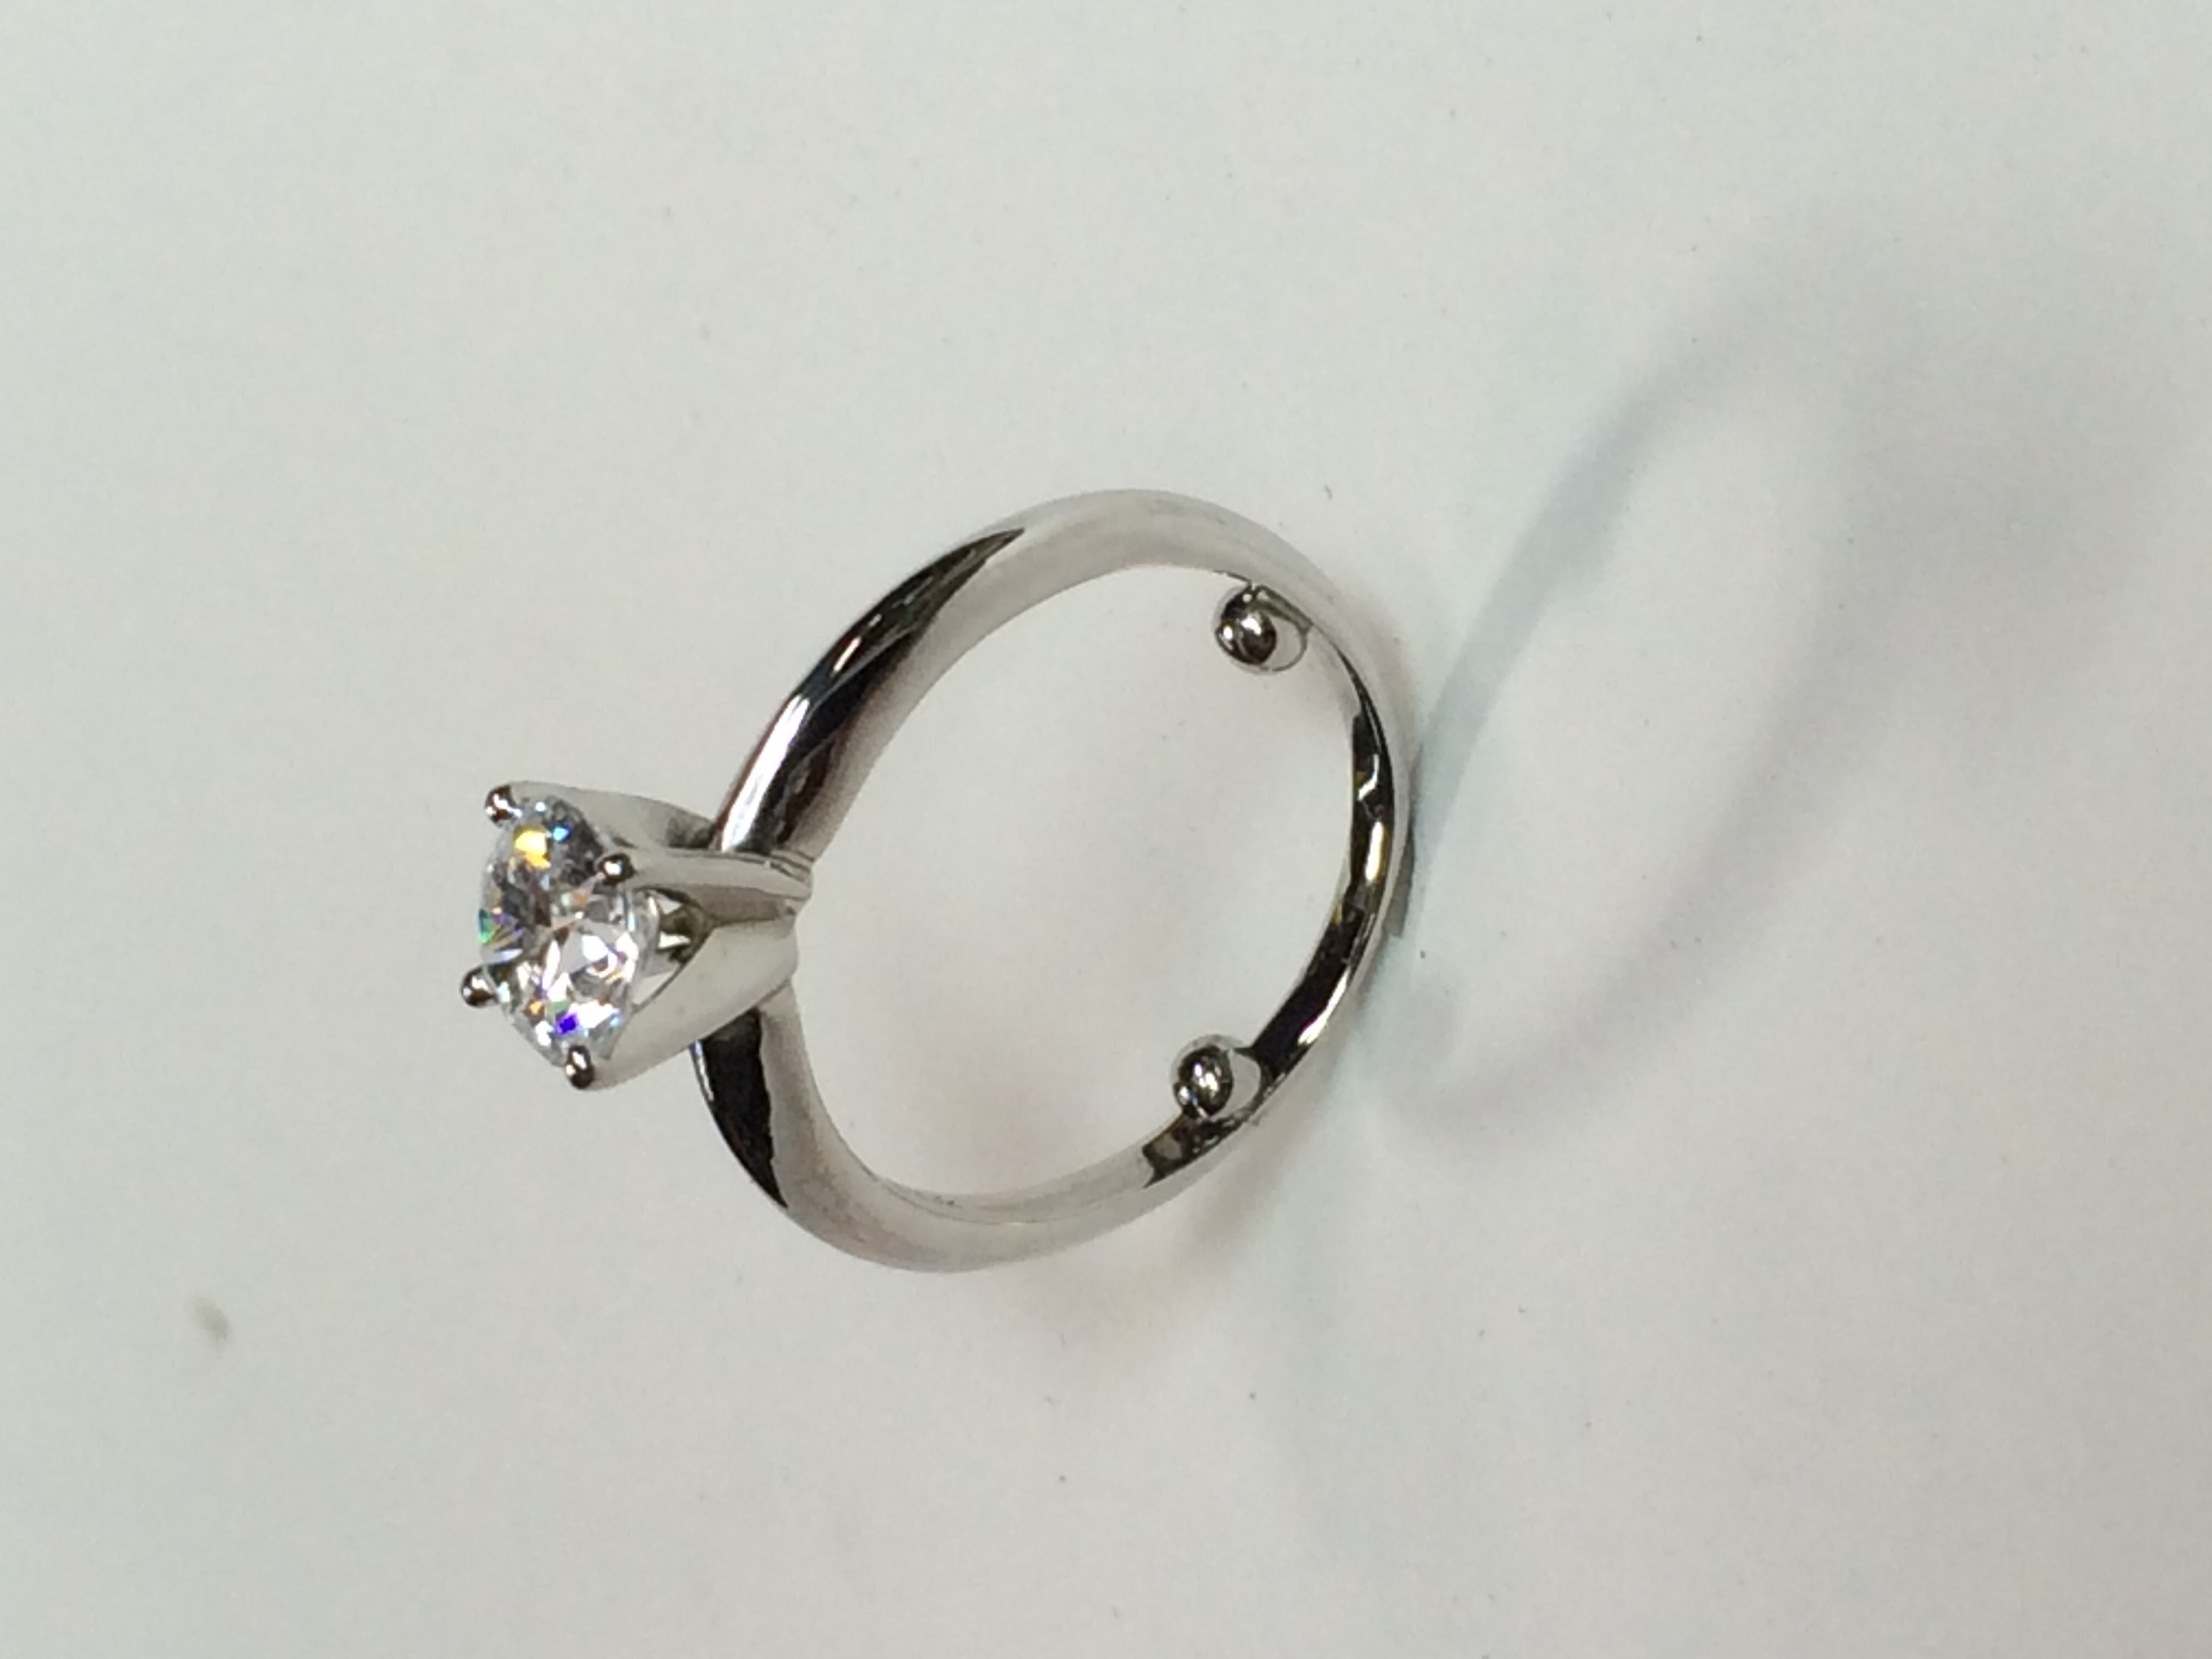
The ring has been polished, plated, and the process is complete! The sizing balls will help the ring fit better and stay upright.


